
Cultural signature · Kerala
Authentic Kerala Style Idli Sambar Recipe – Soft & Fluffy Idli
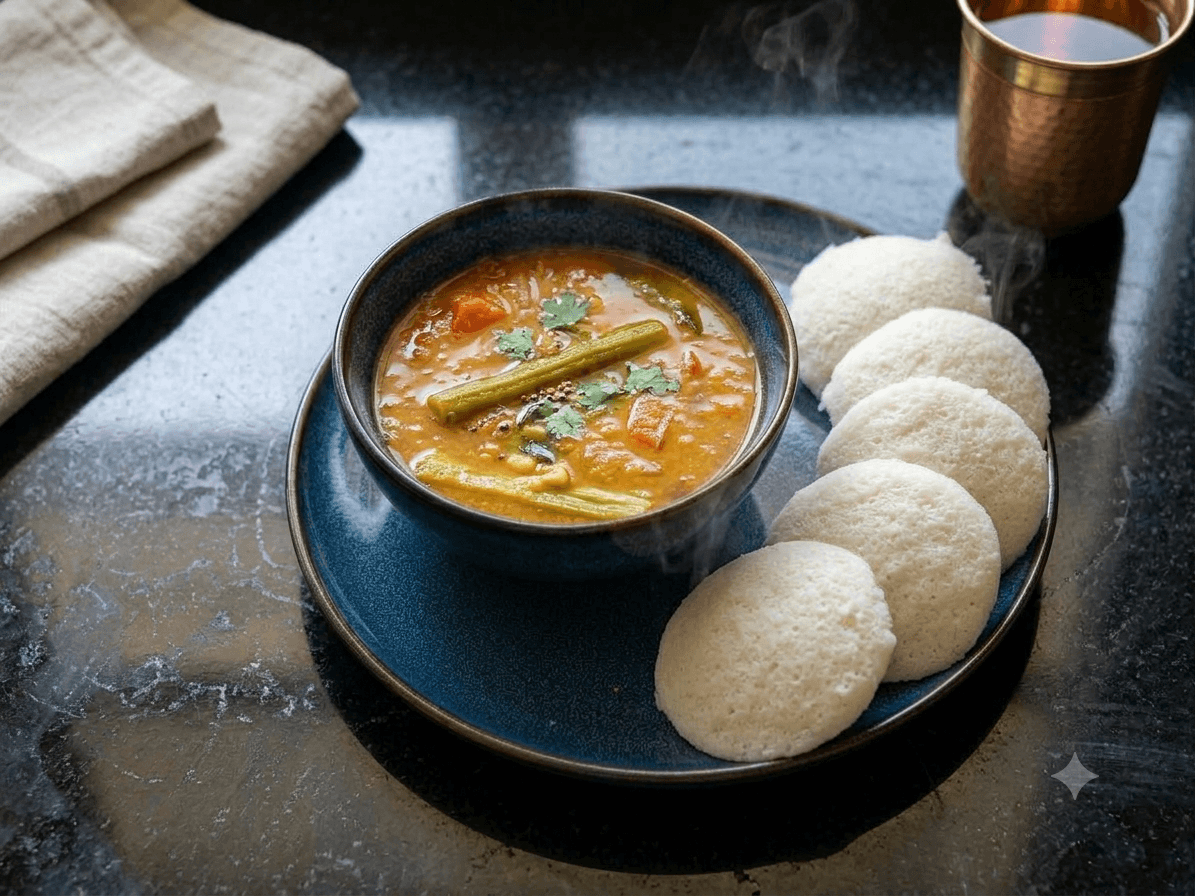
“There’s something so comforting about a plate of soft, fluffy idlis soaked in warm, flavorful sambar. This Kerala-style idli sambar is one of those simple homemade breakfasts I love making when I’m craving something hearty, comforting and full of South Indian flavors.”
- Prep
- 30m
- Cook
- 40m
- Serves
- 4
- Spice
- Medium
Instructions
- 01
Let's start with preparing Idli batter so start with washing the rice thoroughly
Take 2 cups of idli rice or parboiled rice in a large bowl. Rinse it 2–3 times, gently rubbing the grains between your fingers. Drain the water completely. Washing removes excess starch and impurities and helps give the idlis a cleaner taste.
- 02
Wash and soak urad dal
In a separate bowl, add 1 cup of whole urad dal and 1 teaspoon of fenugreek seeds. Wash them thoroughly and add enough water to keep them completely submerged. Soak for 4–6 hours.
- 03
Soak the rice separately
Add the washed rice to another large bowl and cover it generously with water. Let it soak for 4–6 hours along with the dal. Soaking the rice and dal separately makes it easier to grind each to the appropriate consistency and helps produce lighter, softer idlis.
- 04
Grind urad dal first
Drain the soaked urad dal and fenugreek seeds, reserving some of the soaking water. Add the dal to a mixer grinder or wet grinder. Start grinding and gradually add small amounts of water as needed. Don't add all the water at once. Continue grinding until the dal becomes smooth, fluffy and noticeably lighter in texture. When you lift some batter between your fingers, it should feel soft rather than grainy.
- 05
Grind the rice
Drain the soaked rice completely. Add it to the grinder in batches if necessary. Grind the rice with a little water until you get a smooth batter with a very slightly grainy texture. It shouldn't be completely silky like the urad batter.
- 06
Combine both batters
Transfer the rice and urad dal batters into a large bowl. Make sure the bowl has enough room for the batter to expand during fermentation. Mix the two batters thoroughly using your clean hand or a ladle. The final batter should be thick but pourable. If it looks too thick, add a little water. If it is already thin, don't add more water because a watery batter can result in flat, dense idlis.
- 07
Cover and let it ferment
Cover the bowl loosely with a lid. Don't seal it completely because fermentation produces gases. Place the bowl somewhere warm and allow the batter to ferment for approximately 8–12 hours. The exact time depends on the temperature. In a warm climate, fermentation may happen faster, while cooler weather can take longer.
- 08
Check fermentation
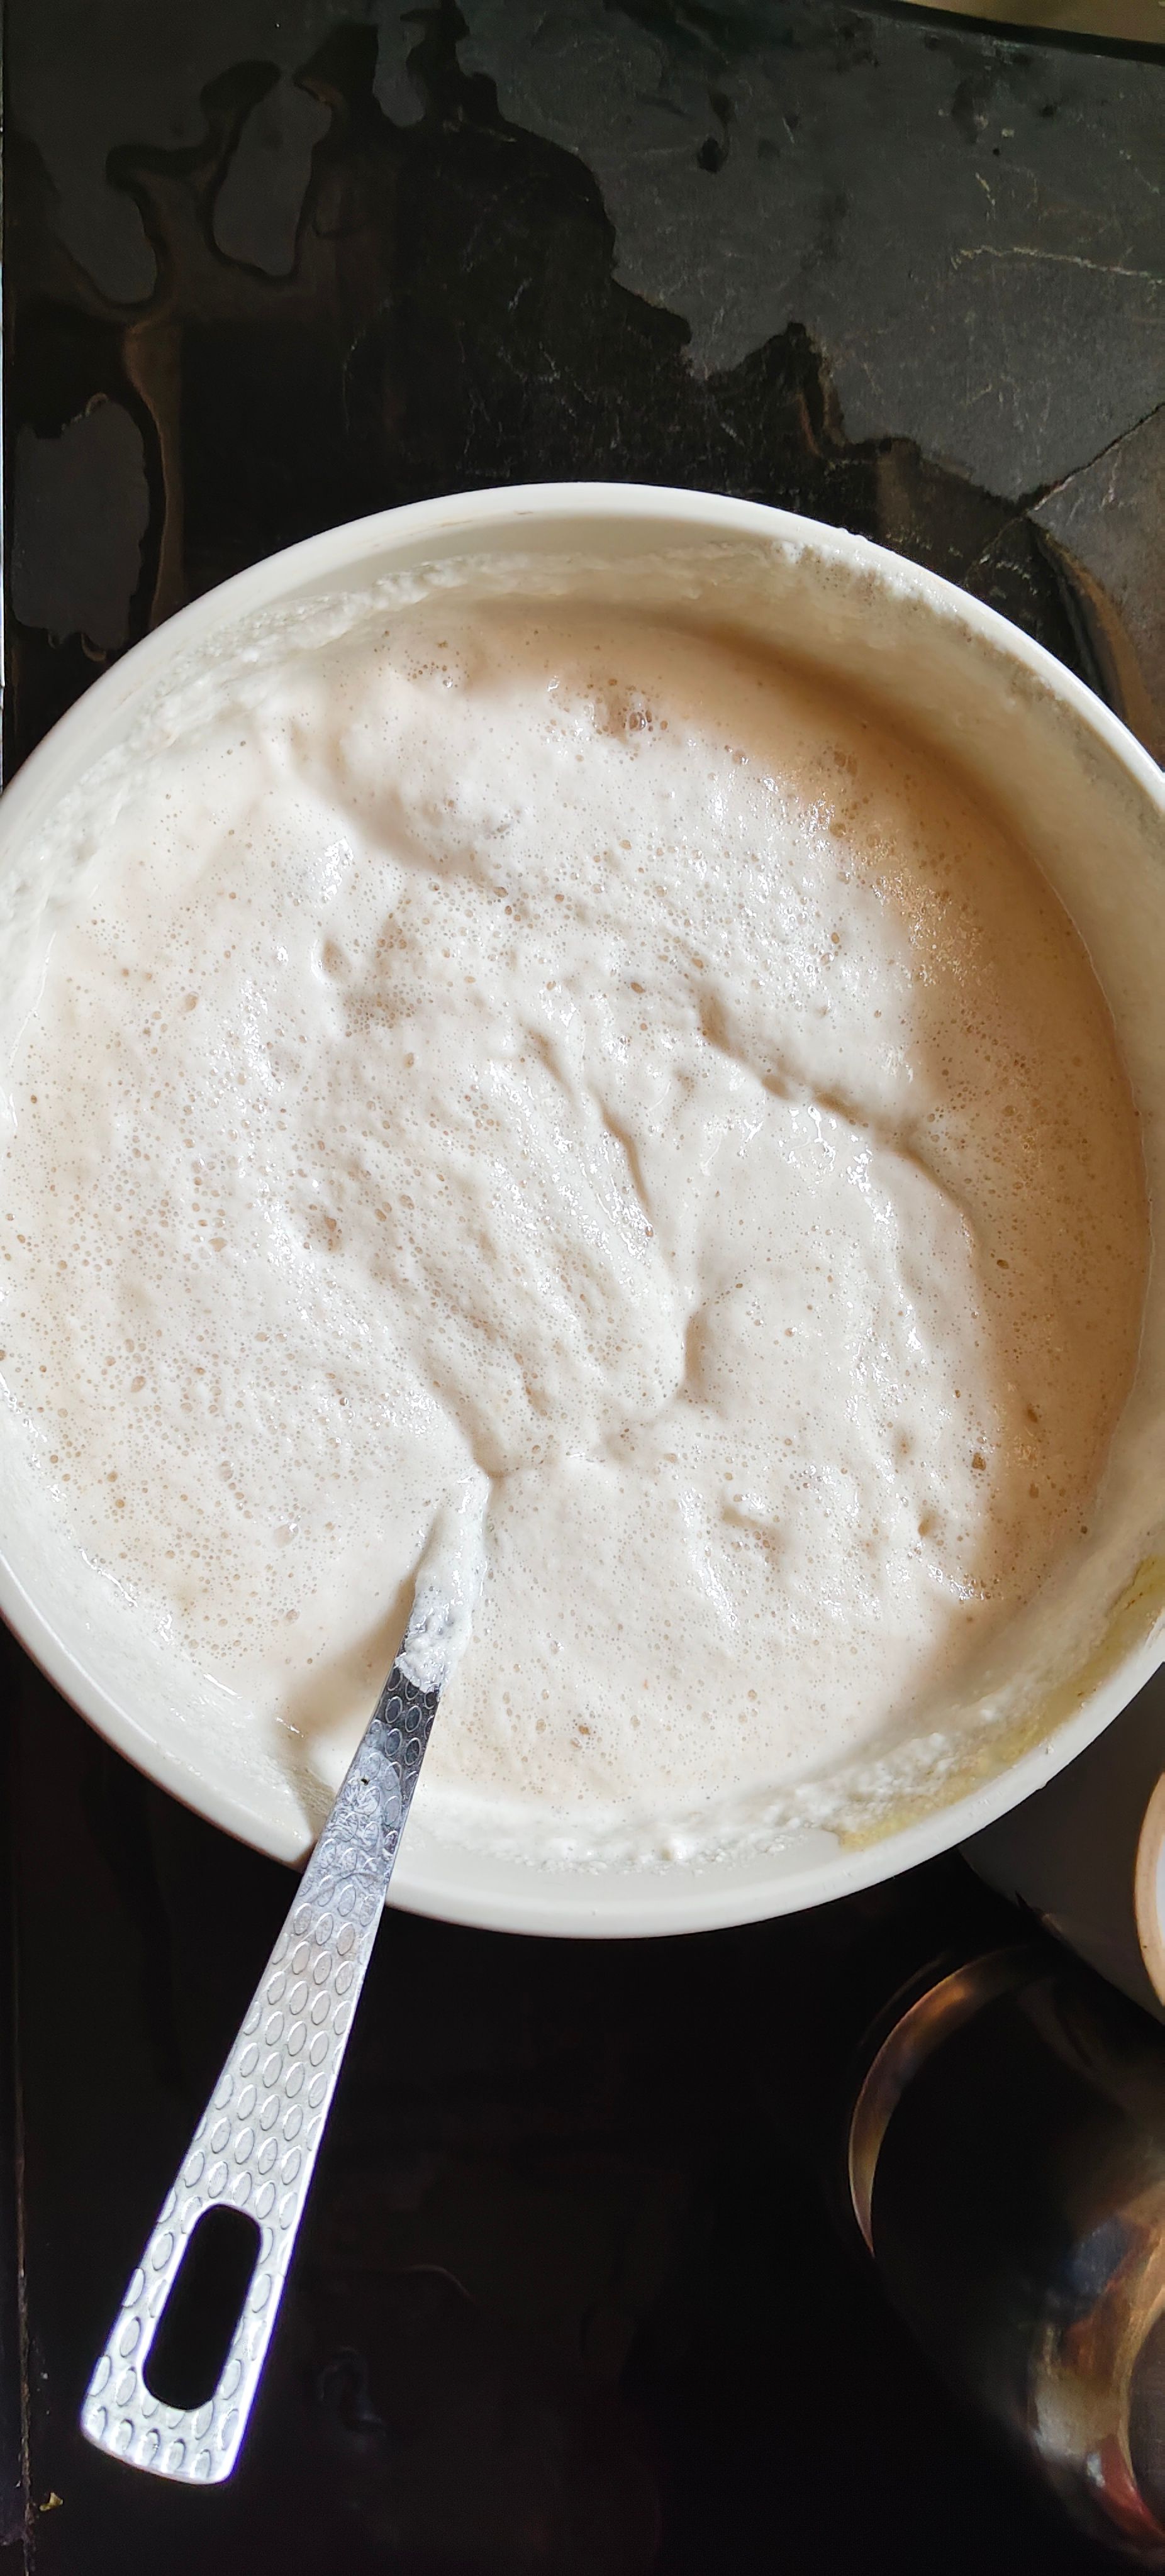
A properly fermented batter should: - Increase noticeably in volume - Look airy and slightly bubbly - Have a pleasant mildly sour aroma - Feel lighter when stirred Don't stir it vigorously once fermented because you don't want to lose all the air developed during fermentation.
- 09
Add Salt
Add salt according to taste and gently mix it into the fermented batter. If the batter has become extremely thick after fermentation, add a little water and adjust the consistency.
- 10
Prepare the Idli Steamer
Add enough water to your steamer or idli cooker and bring it to a boil. The water should be sufficient to generate steam throughout the cooking process but should not touch the idli moulds.
- 11
Grease the moulds
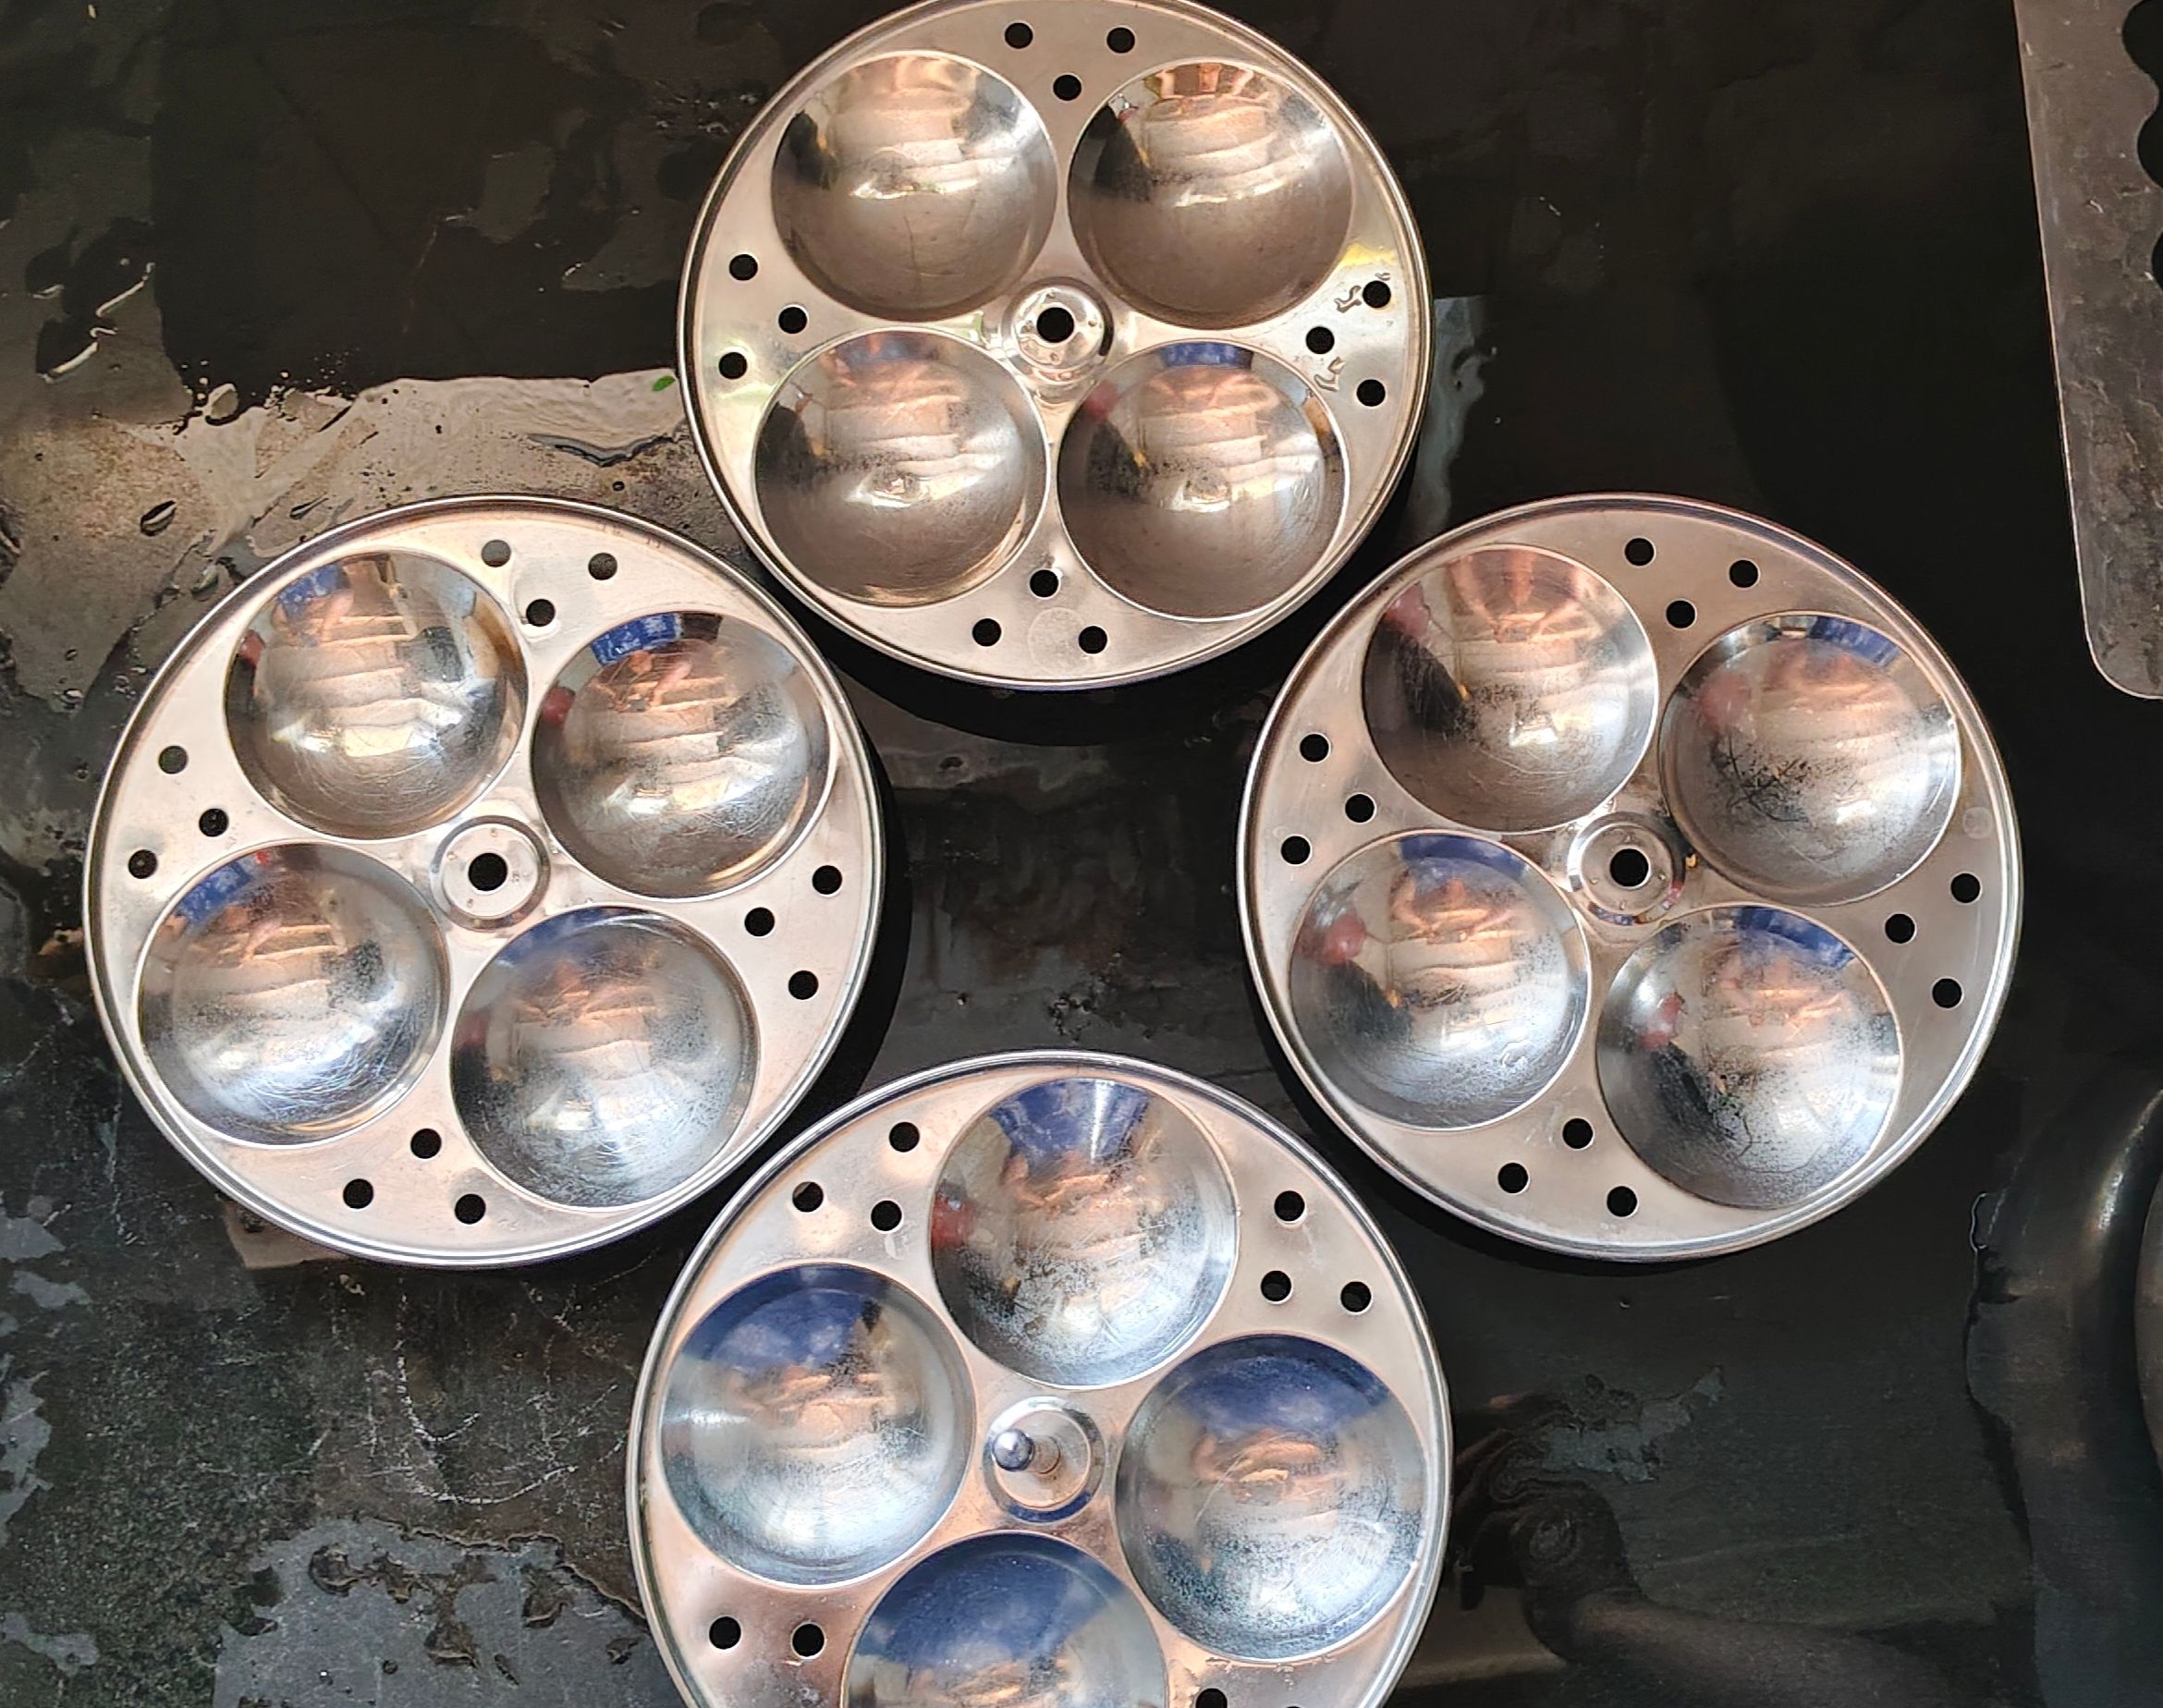
Lightly grease each idli cavity with a few drops of oil. This makes it easier to remove the cooked idlis without breaking them.
- 12
Fill the moulds
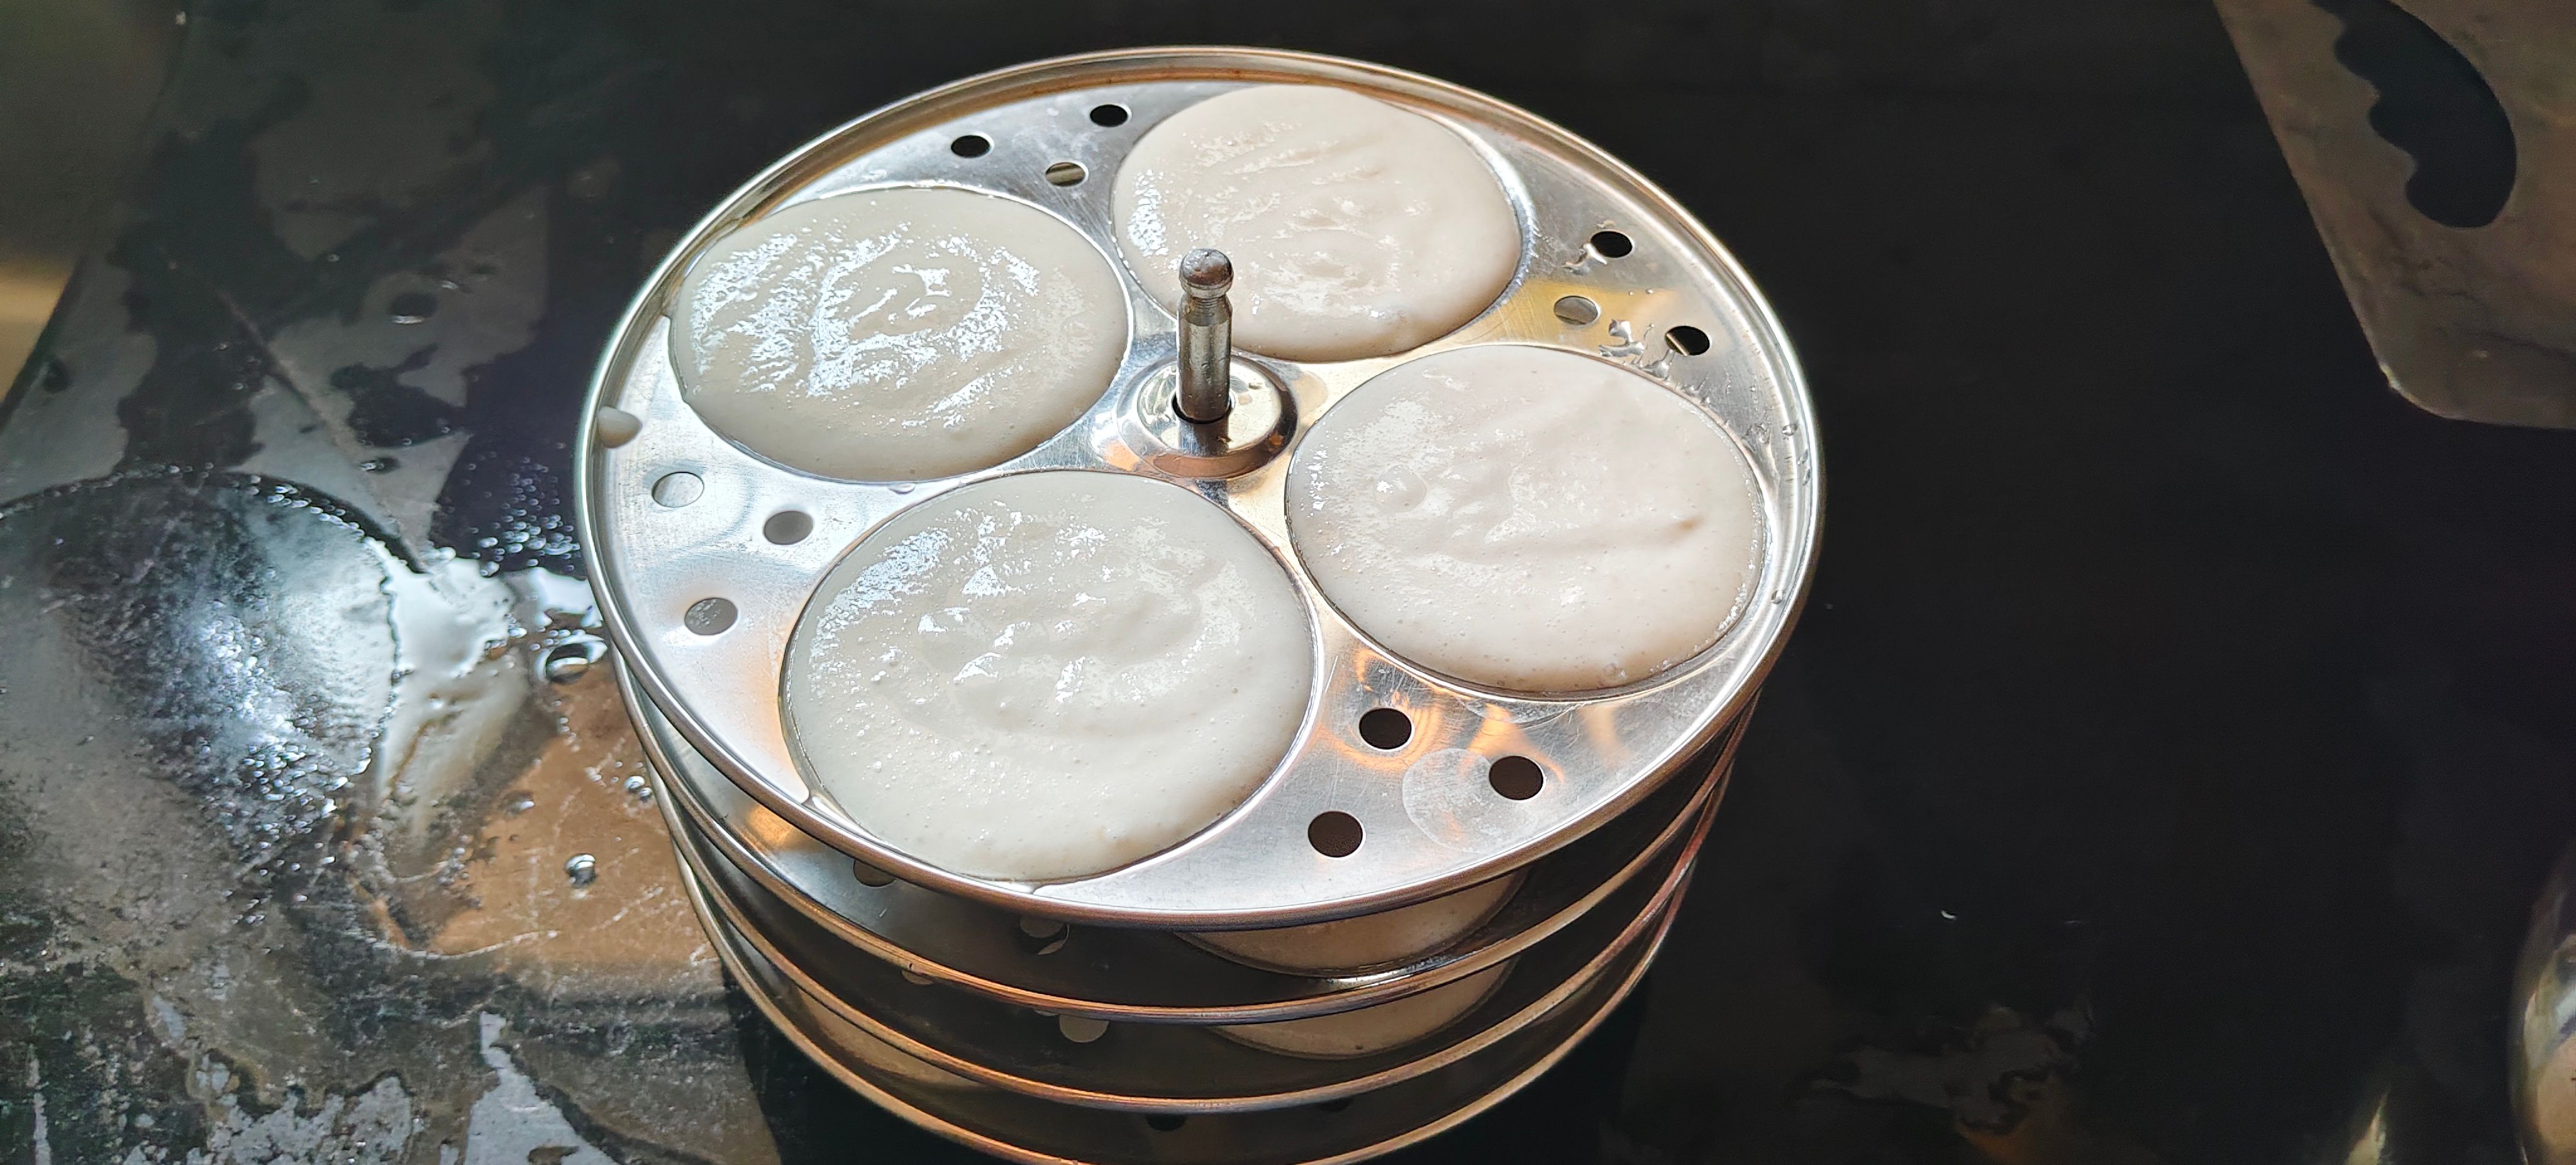
Give the batter just one gentle stir. Pour the batter into each cavity, filling it approximately ¾ full. Leave some space because the idlis will expand while steaming.
- 13
Steam idlis
Place the filled moulds inside the steamer once the water is producing steam. Cover with the lid and steam on medium heat for approximately 10 minutes. Avoid opening the lid repeatedly because this allows the steam to escape and can affect the texture.
- 14
Check weather they are cooked
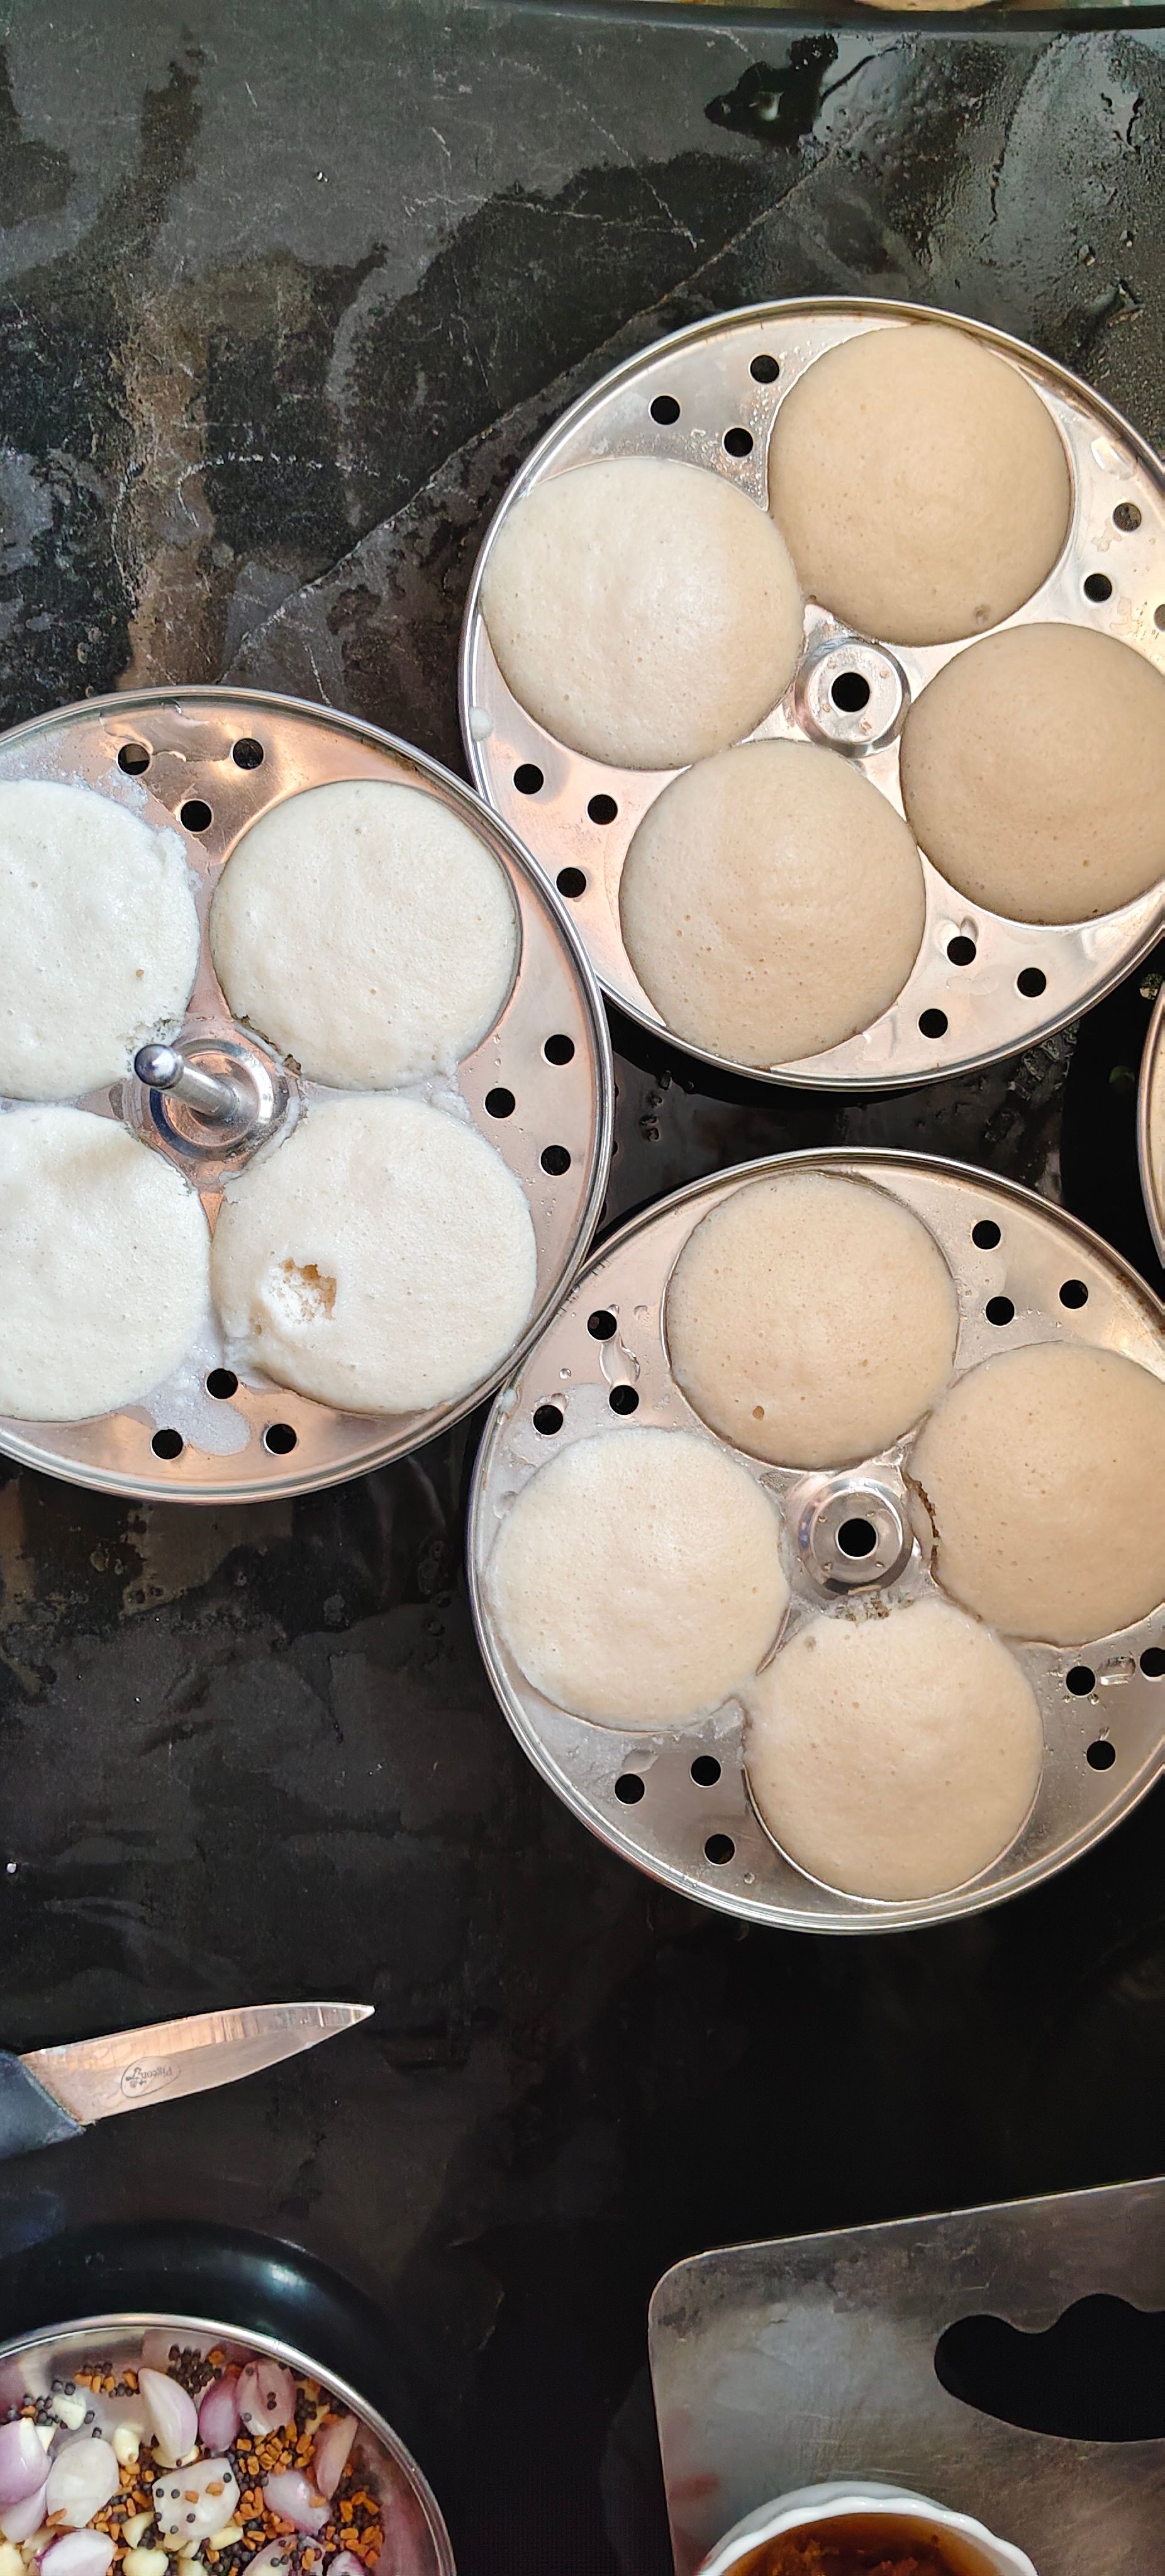
Insert a toothpick or thin knife into the centre of one idli. It should come out clean. If the batter sticks to it, steam for another 1–2 minutes.
- 15
Remove the idlis
Turn off the heat and allow the moulds to rest for a minute or two. Dip a spoon in water and gently run it around the edges of each idli before lifting it out. Keep the cooked idlis covered so they remain soft and moist.
- 16
Let's the start with sambar firstly wash toor dal
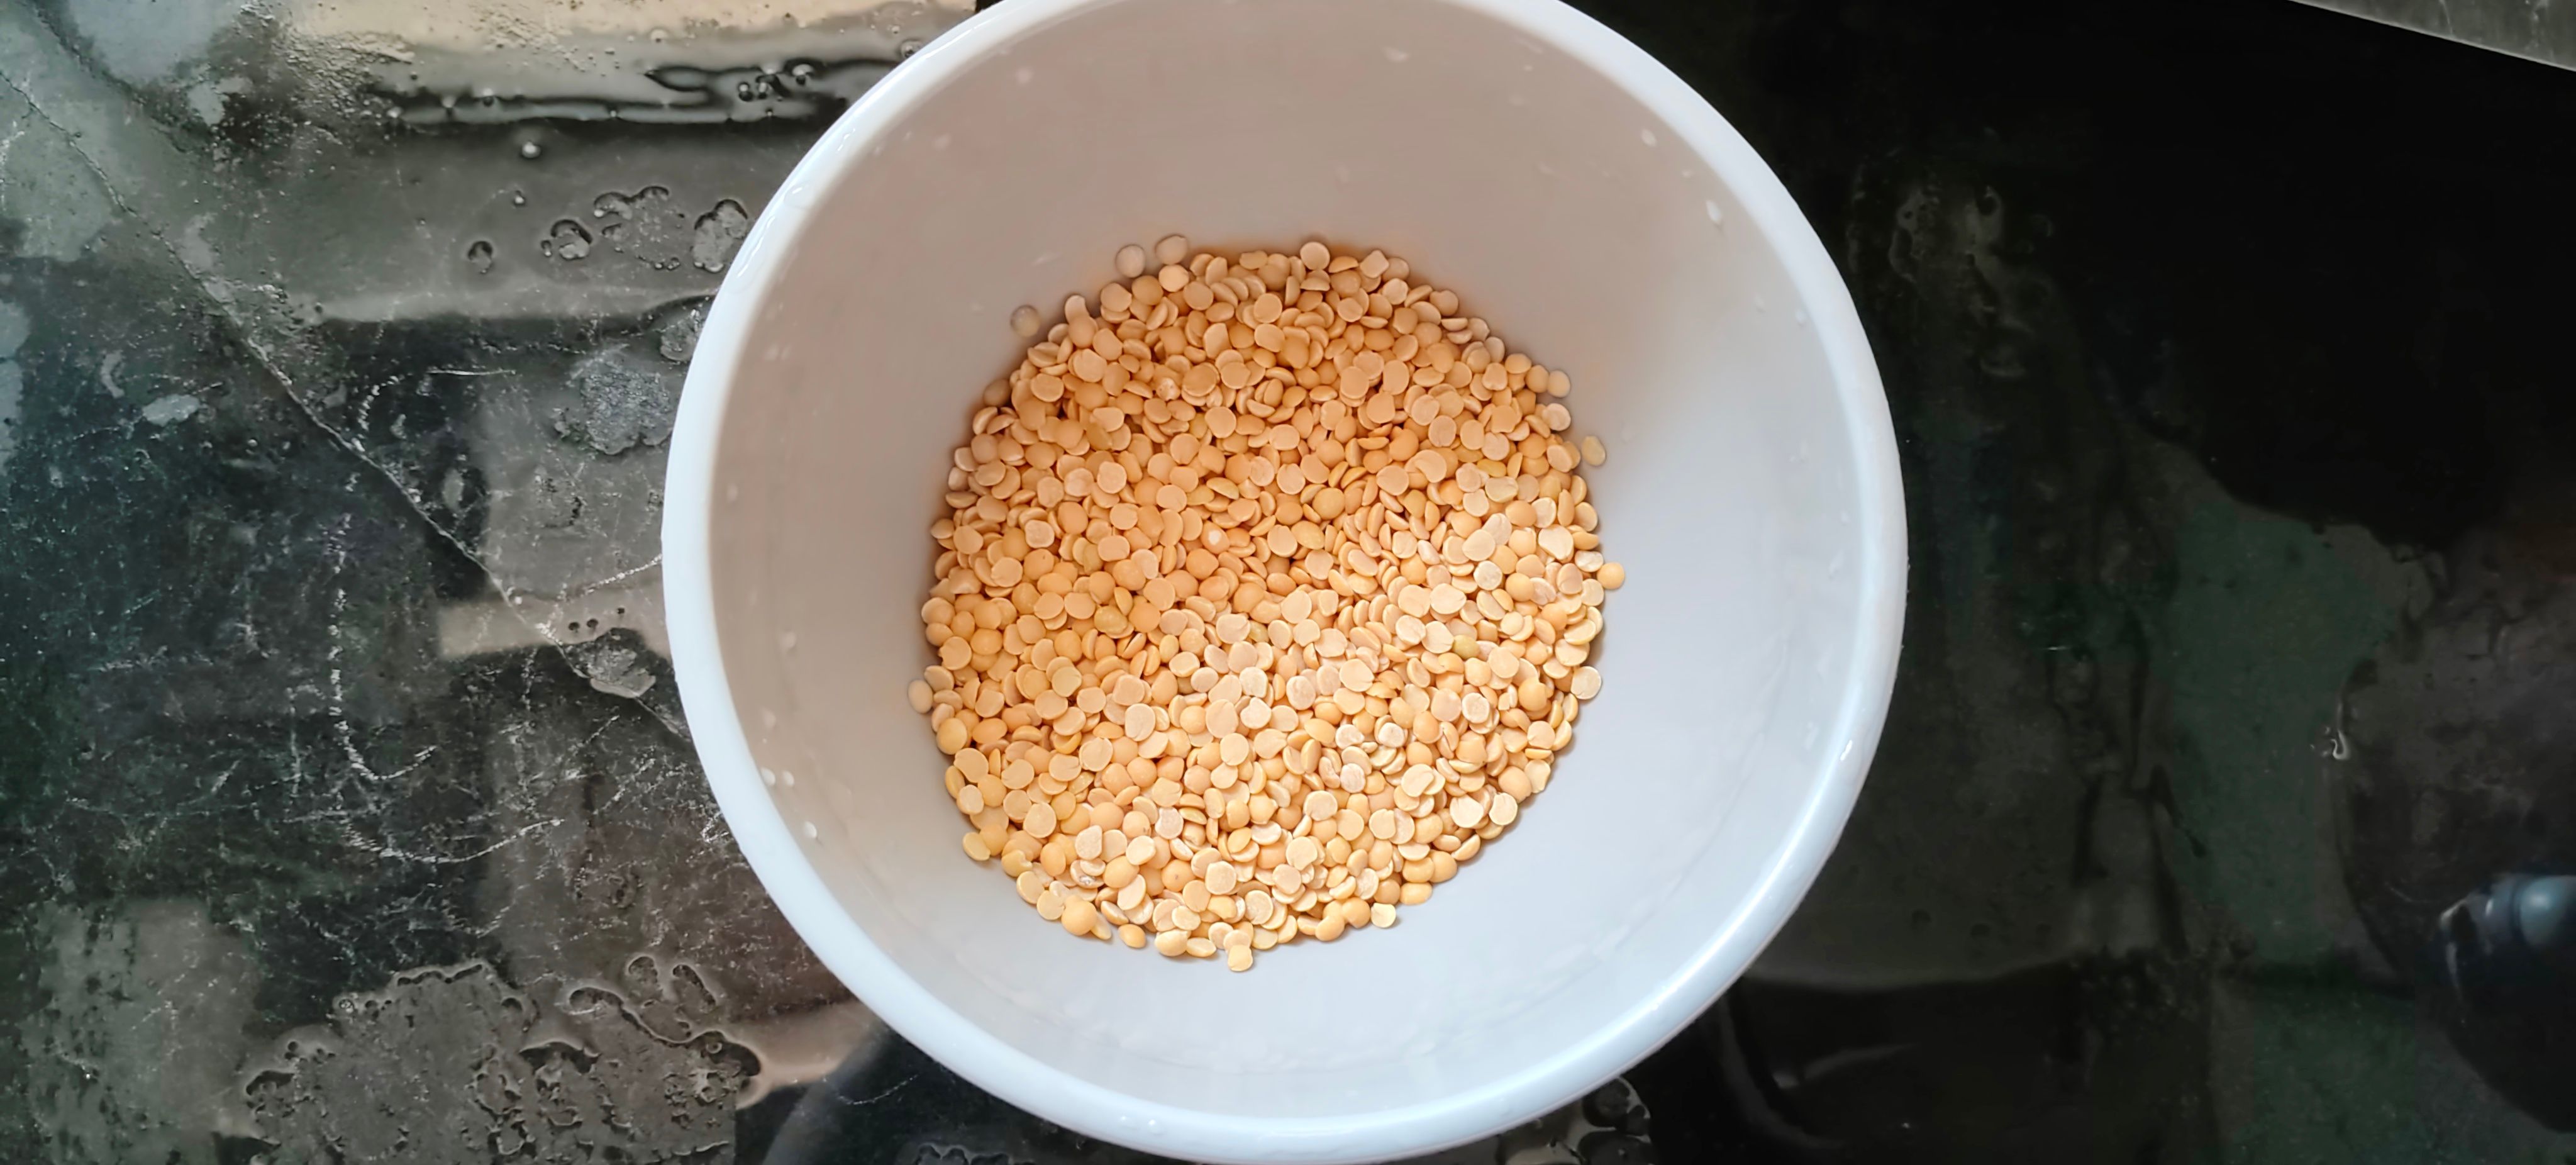
Take 1 cup of toor dal and wash it 2–3 times until the water becomes relatively clear. Add the dal to a pressure cooker along with: 2½–3 cups water ¼ teaspoon turmeric powder
- 17
Pressure cook the dal
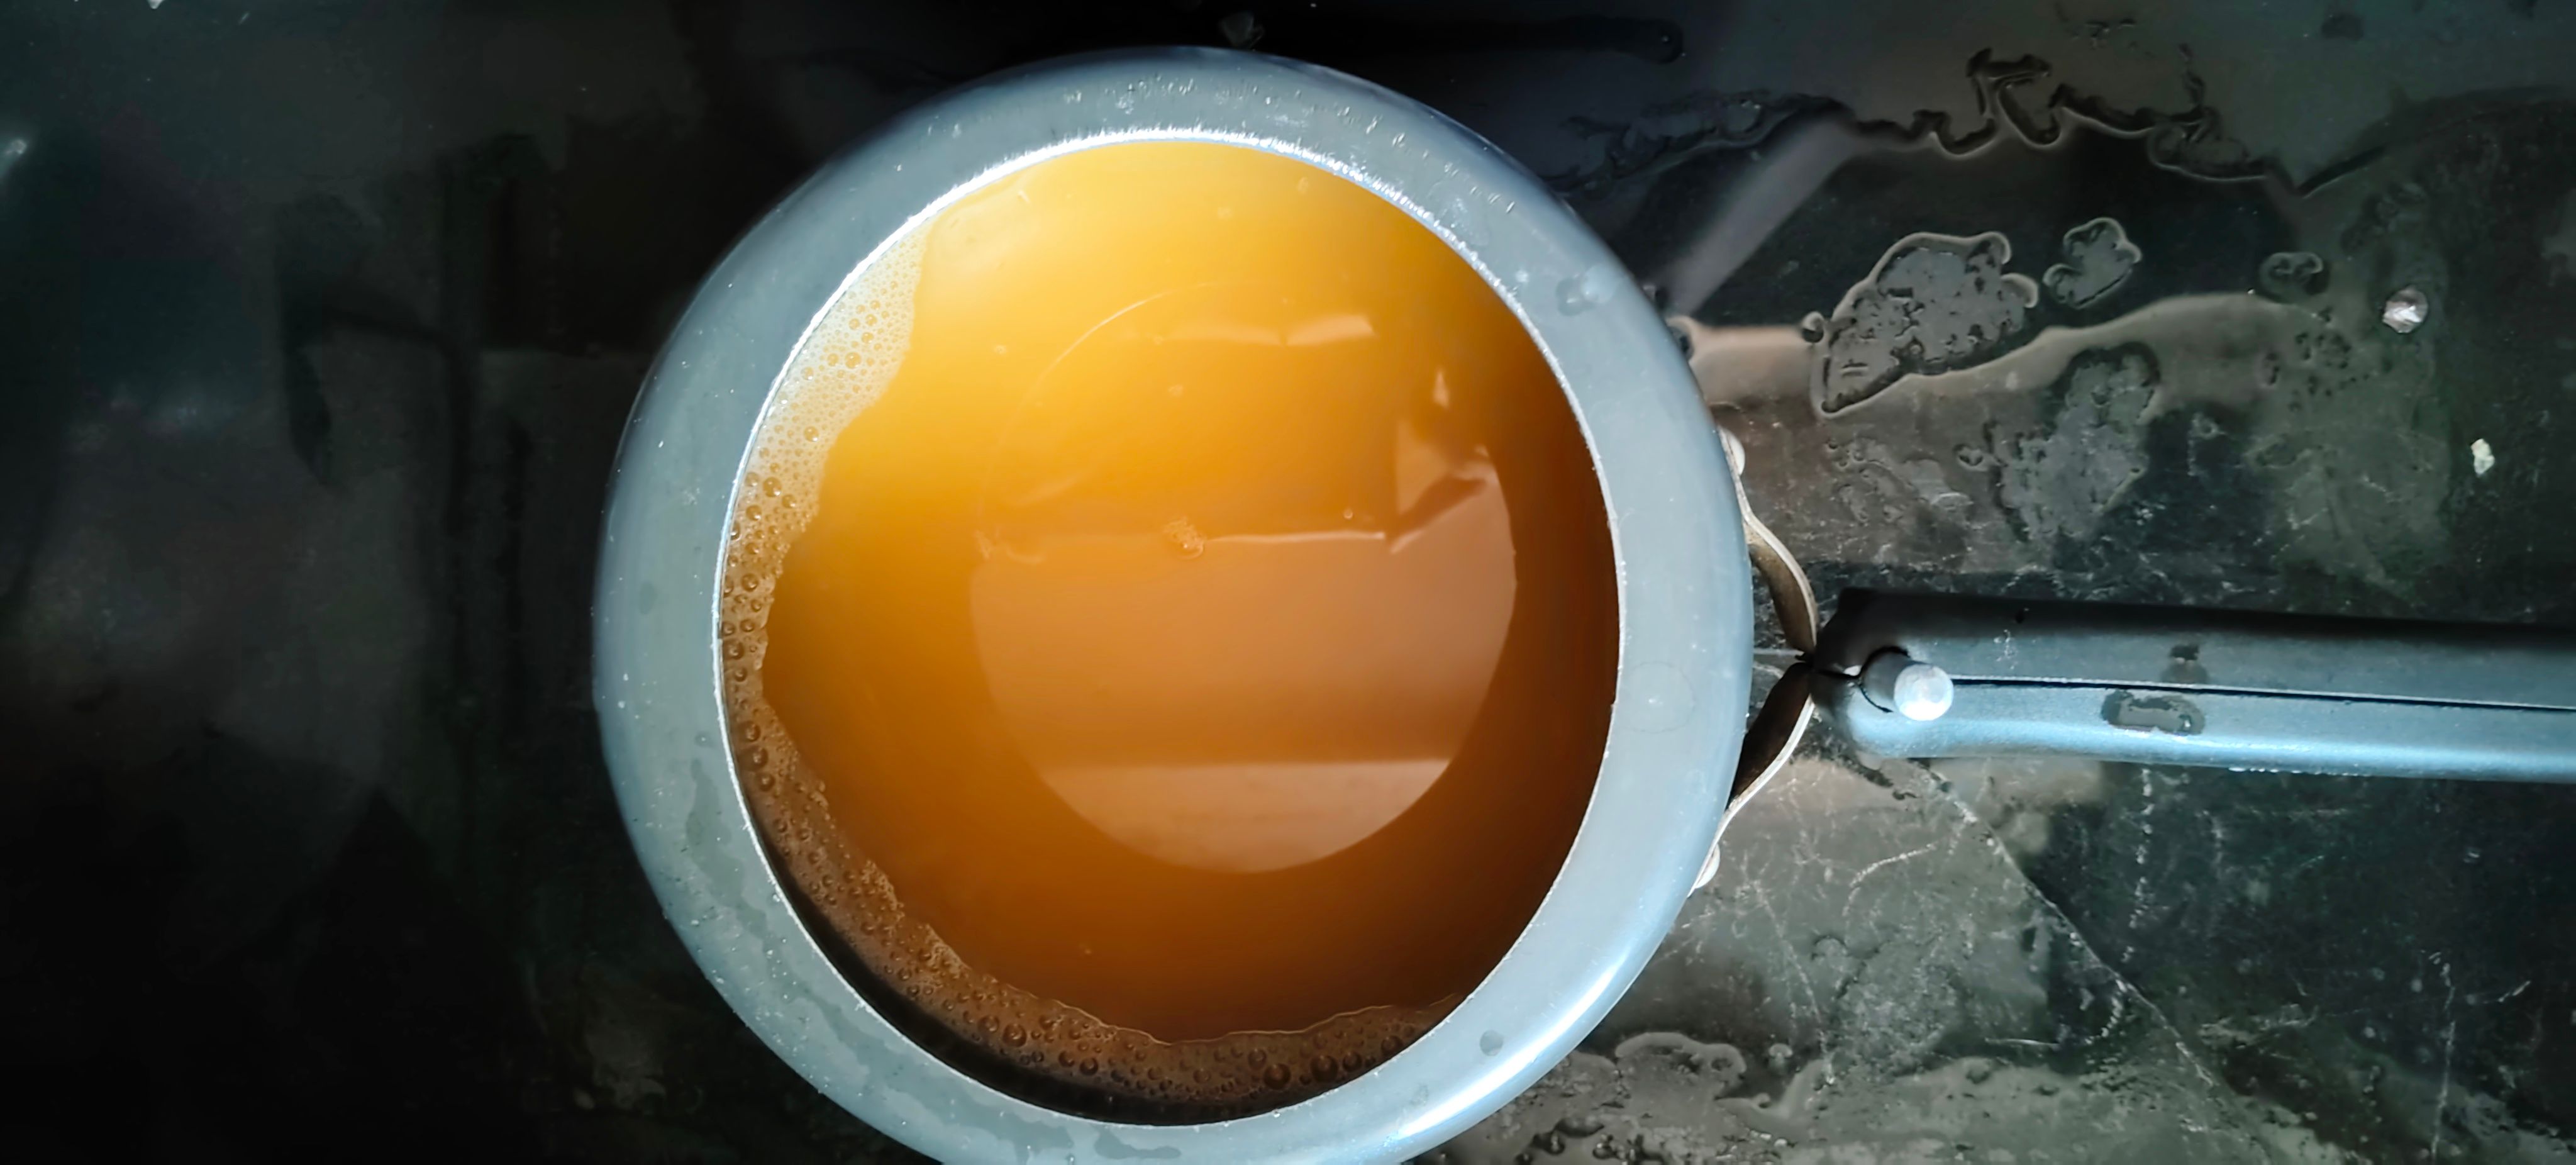
Cook until the dal becomes completely soft and mushy. Allow the pressure to release naturally before opening the cooker. Mash the dal thoroughly using the back of a ladle or a potato masher. The smoother the dal, the better it will blend with the sambar.
- 18
Soak the tamraind
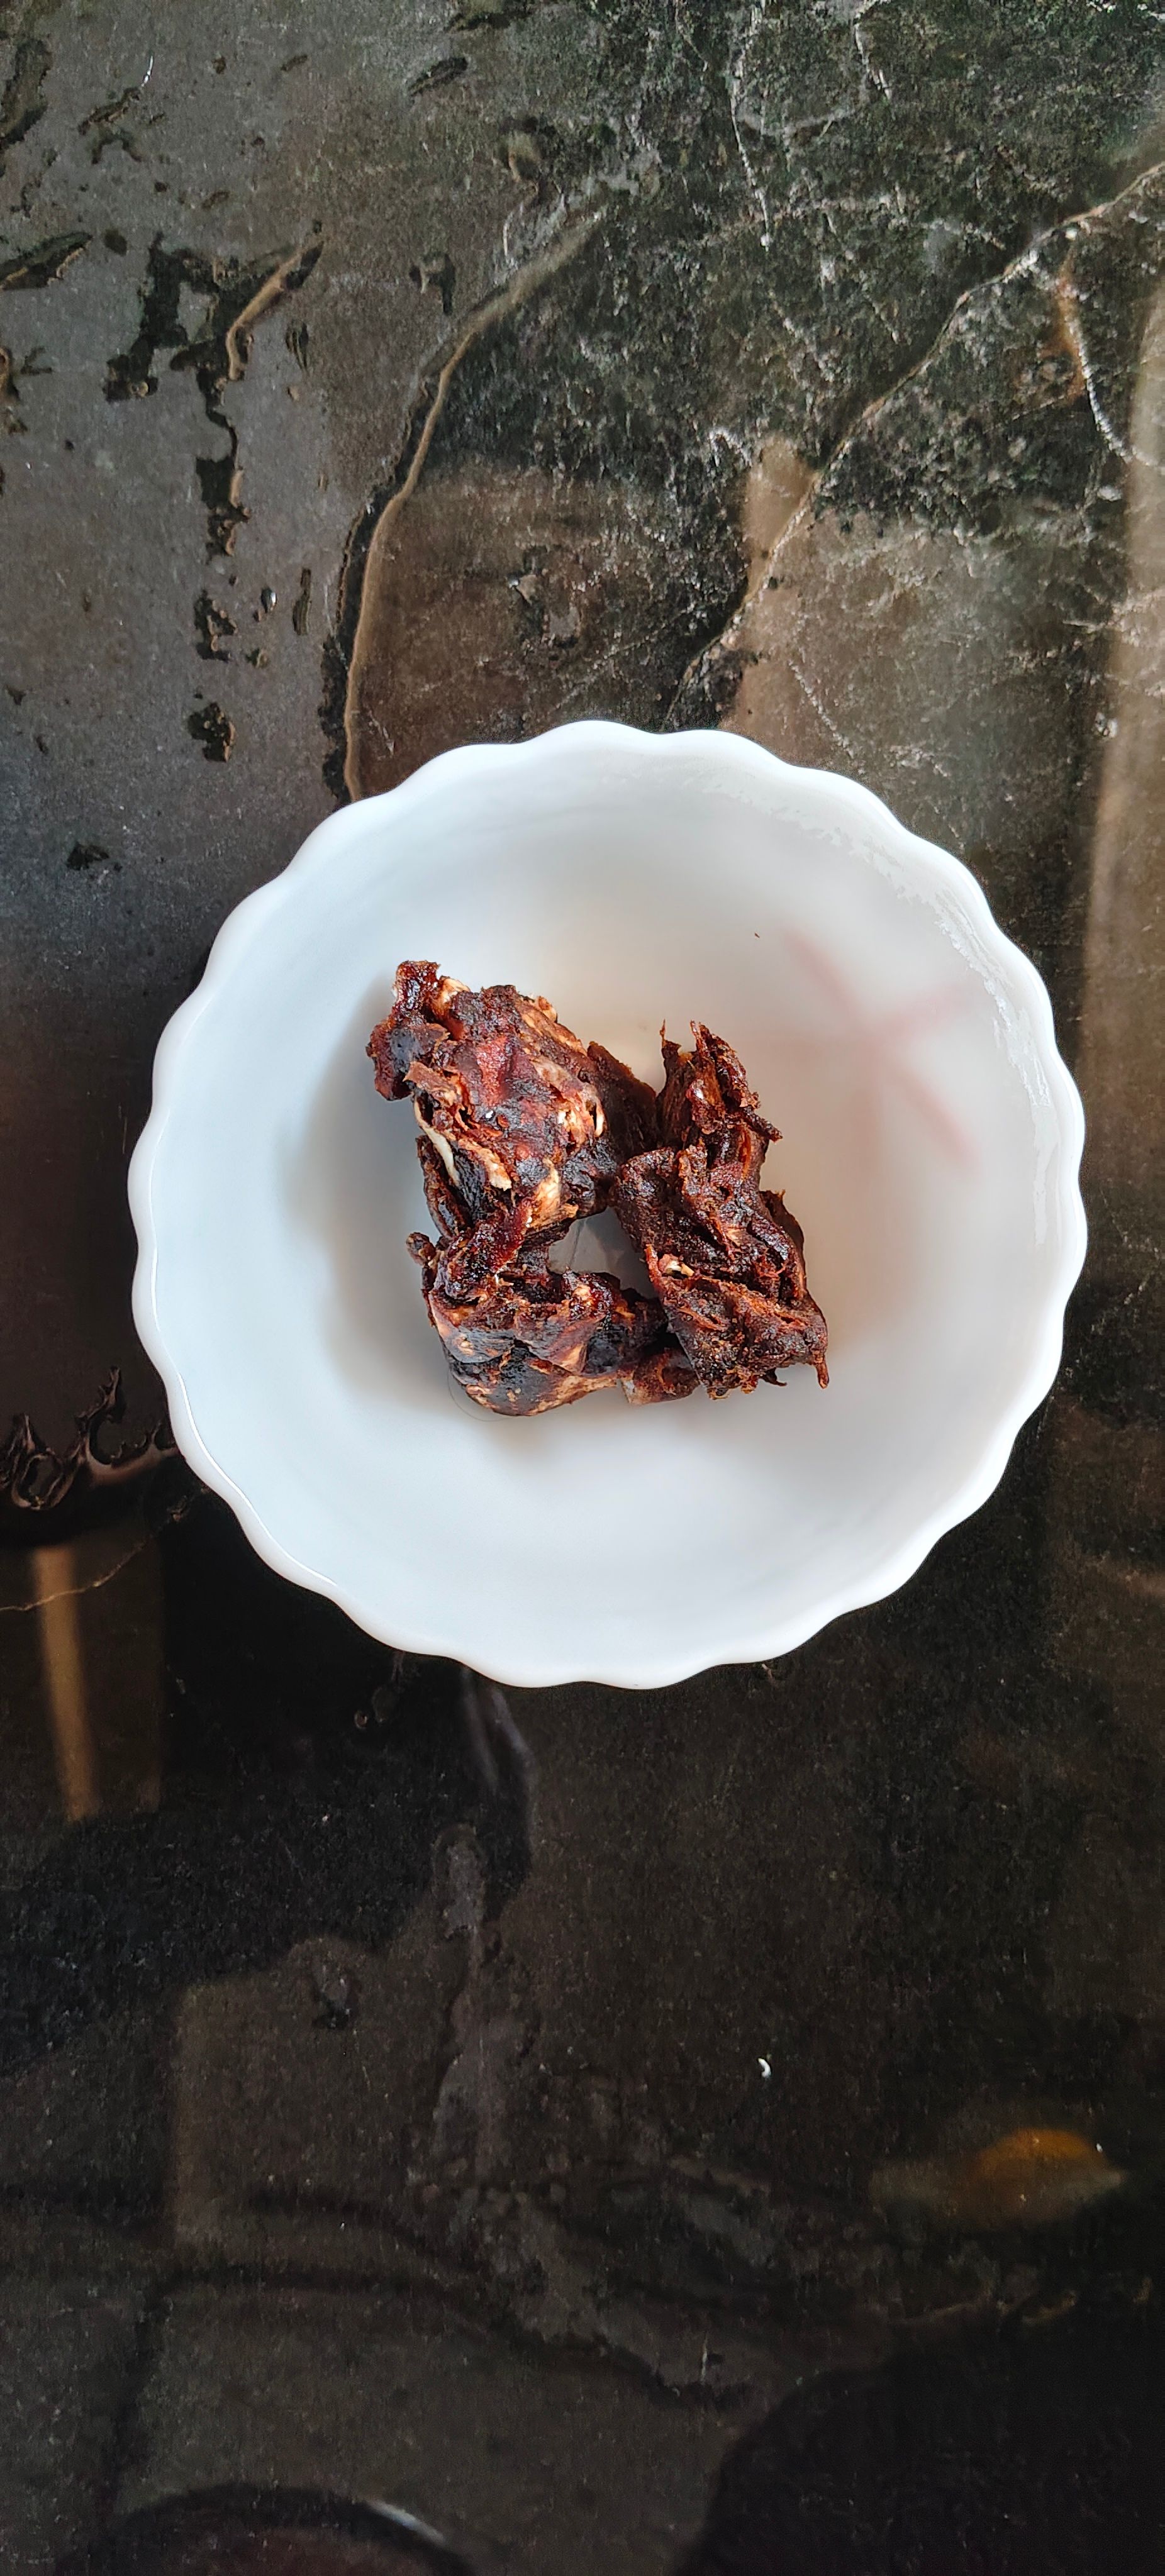
Take a small lemon-sized piece of tamarind and soak it in approximately ½ cup of warm water for 10–15 minutes. Once softened, squeeze it well with your fingers to extract the pulp. Strain the mixture through a sieve to remove seeds, fibres and other solids. Keep the tamarind water aside.
- 19
Prepare vegetable for sambar
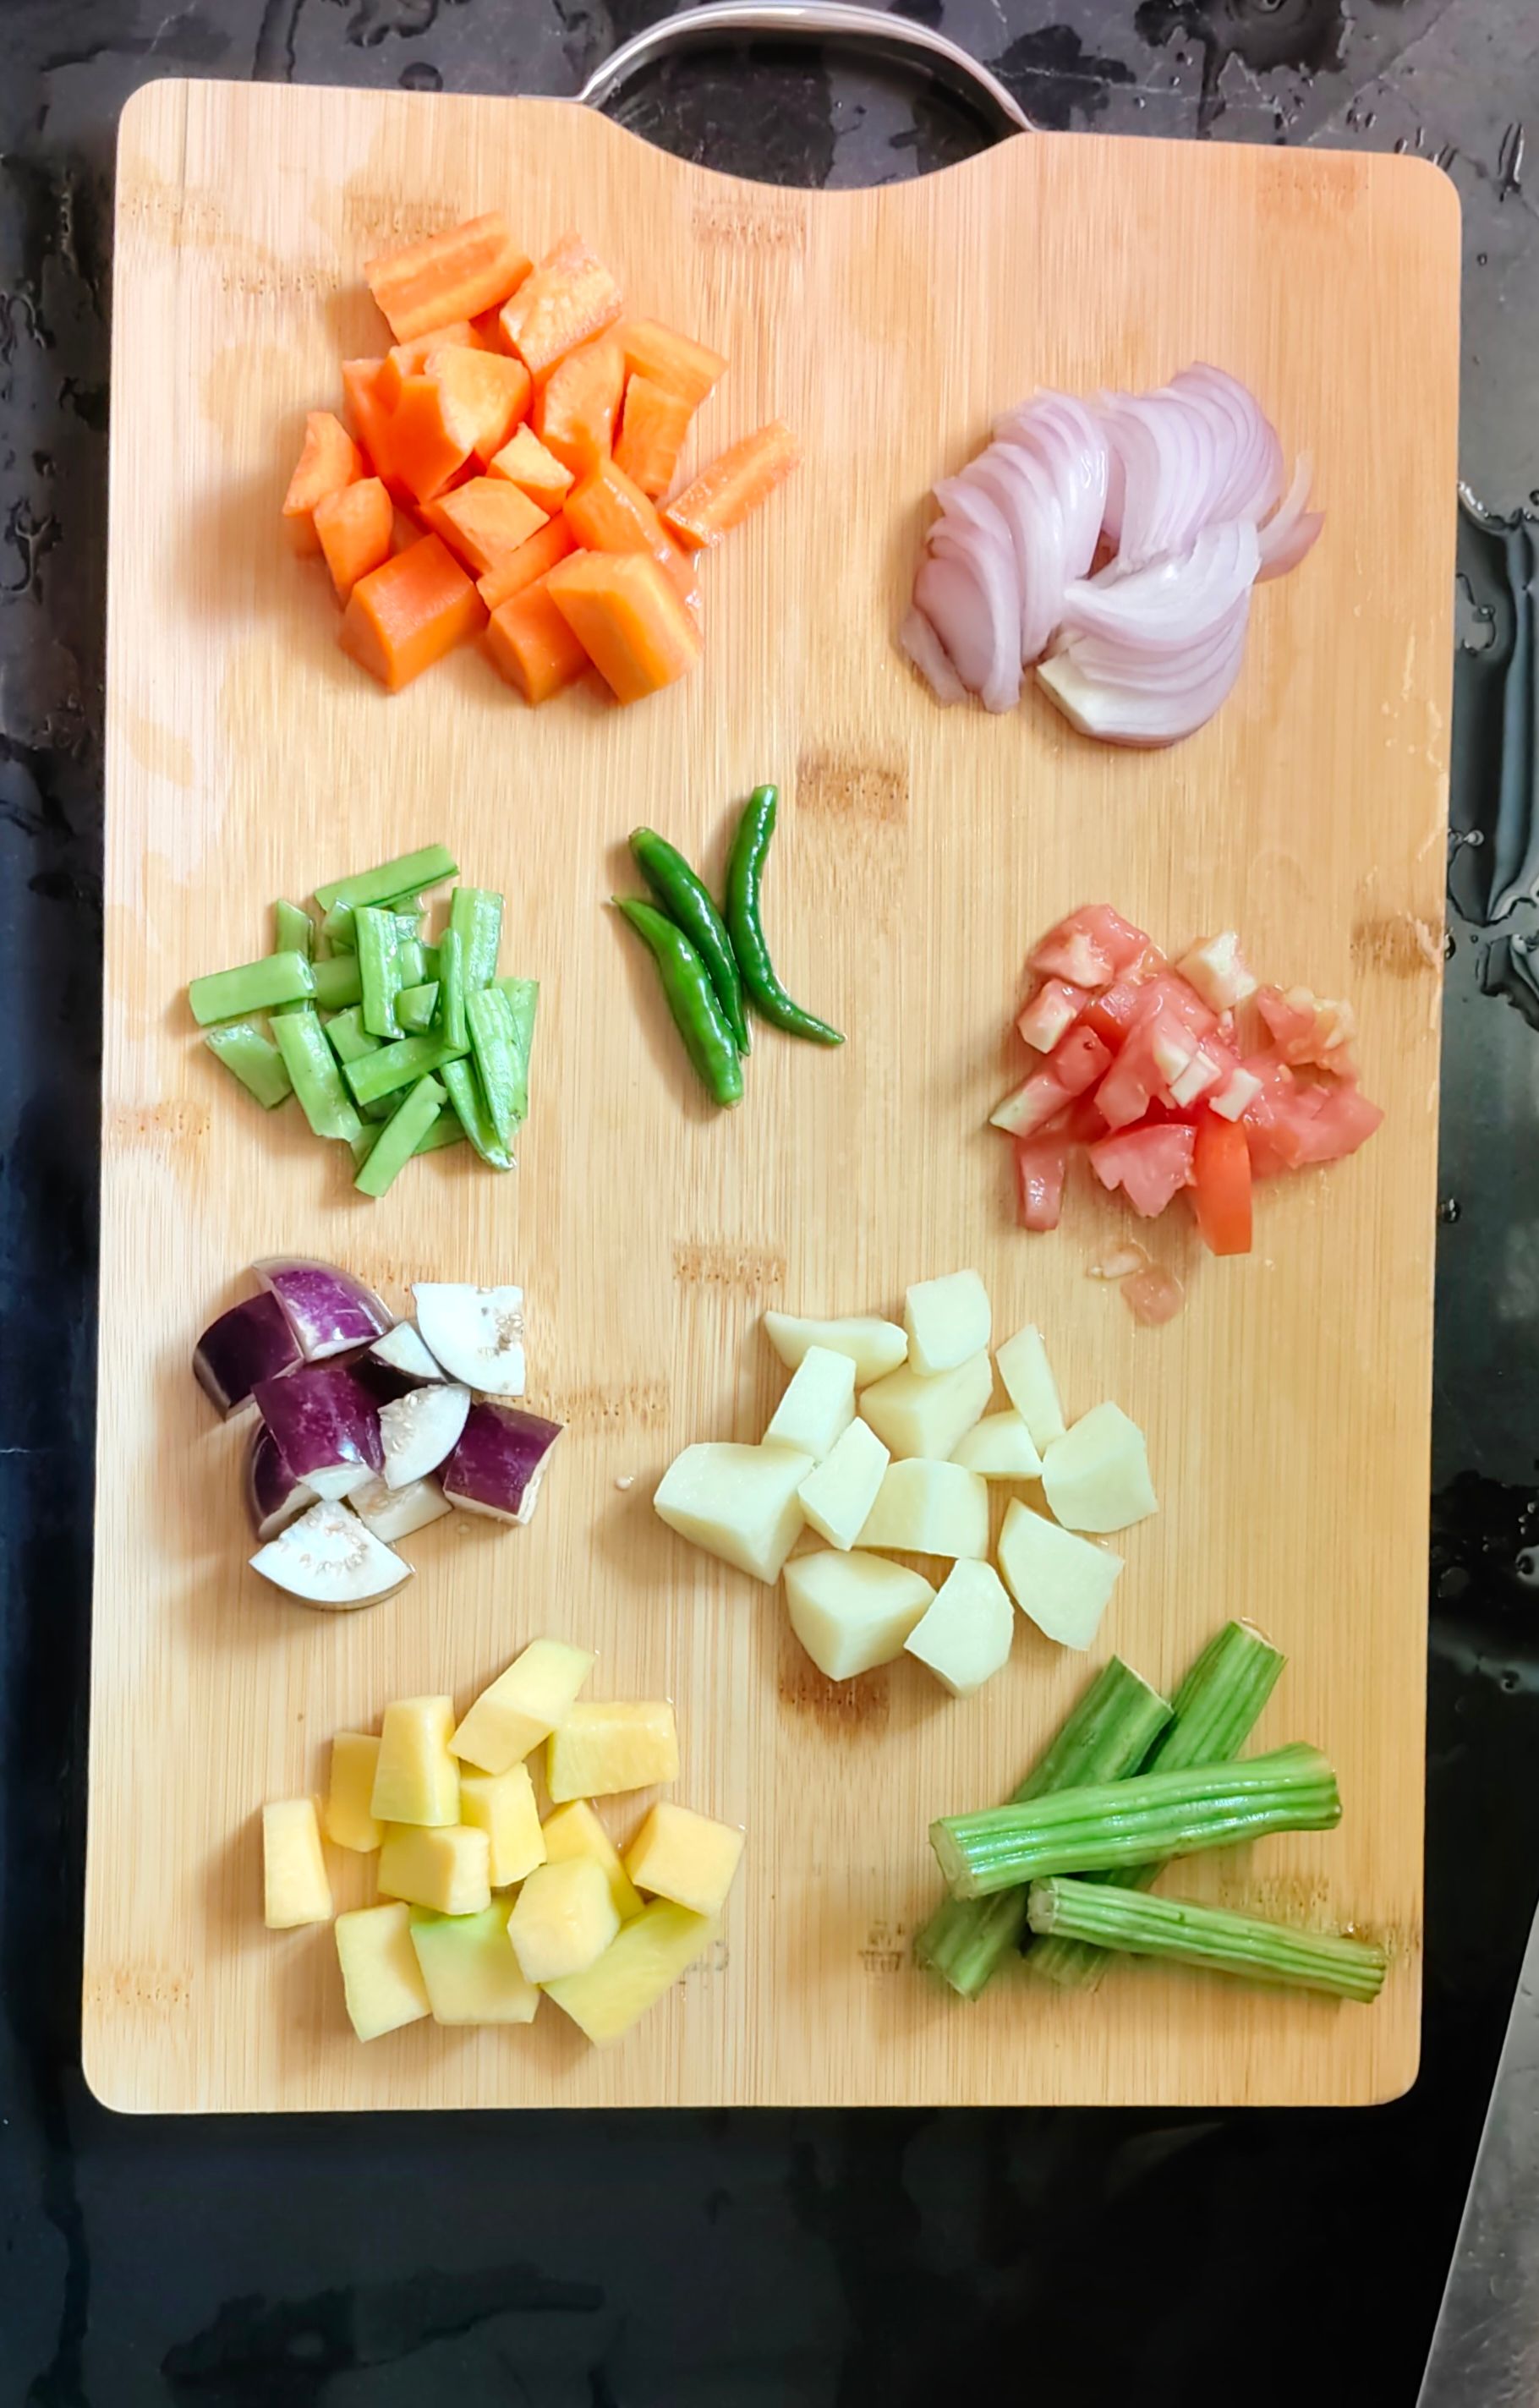
Cut the vegetables into medium-sized pieces. Avoid cutting them too small because they can become mushy while cooking. A good combination is: - Carrot - Potato - Pumpkin - Drumstick - Brinjal - Shallots - Onions - tomatoes - Green chilli
- 20
Cook the vegetables
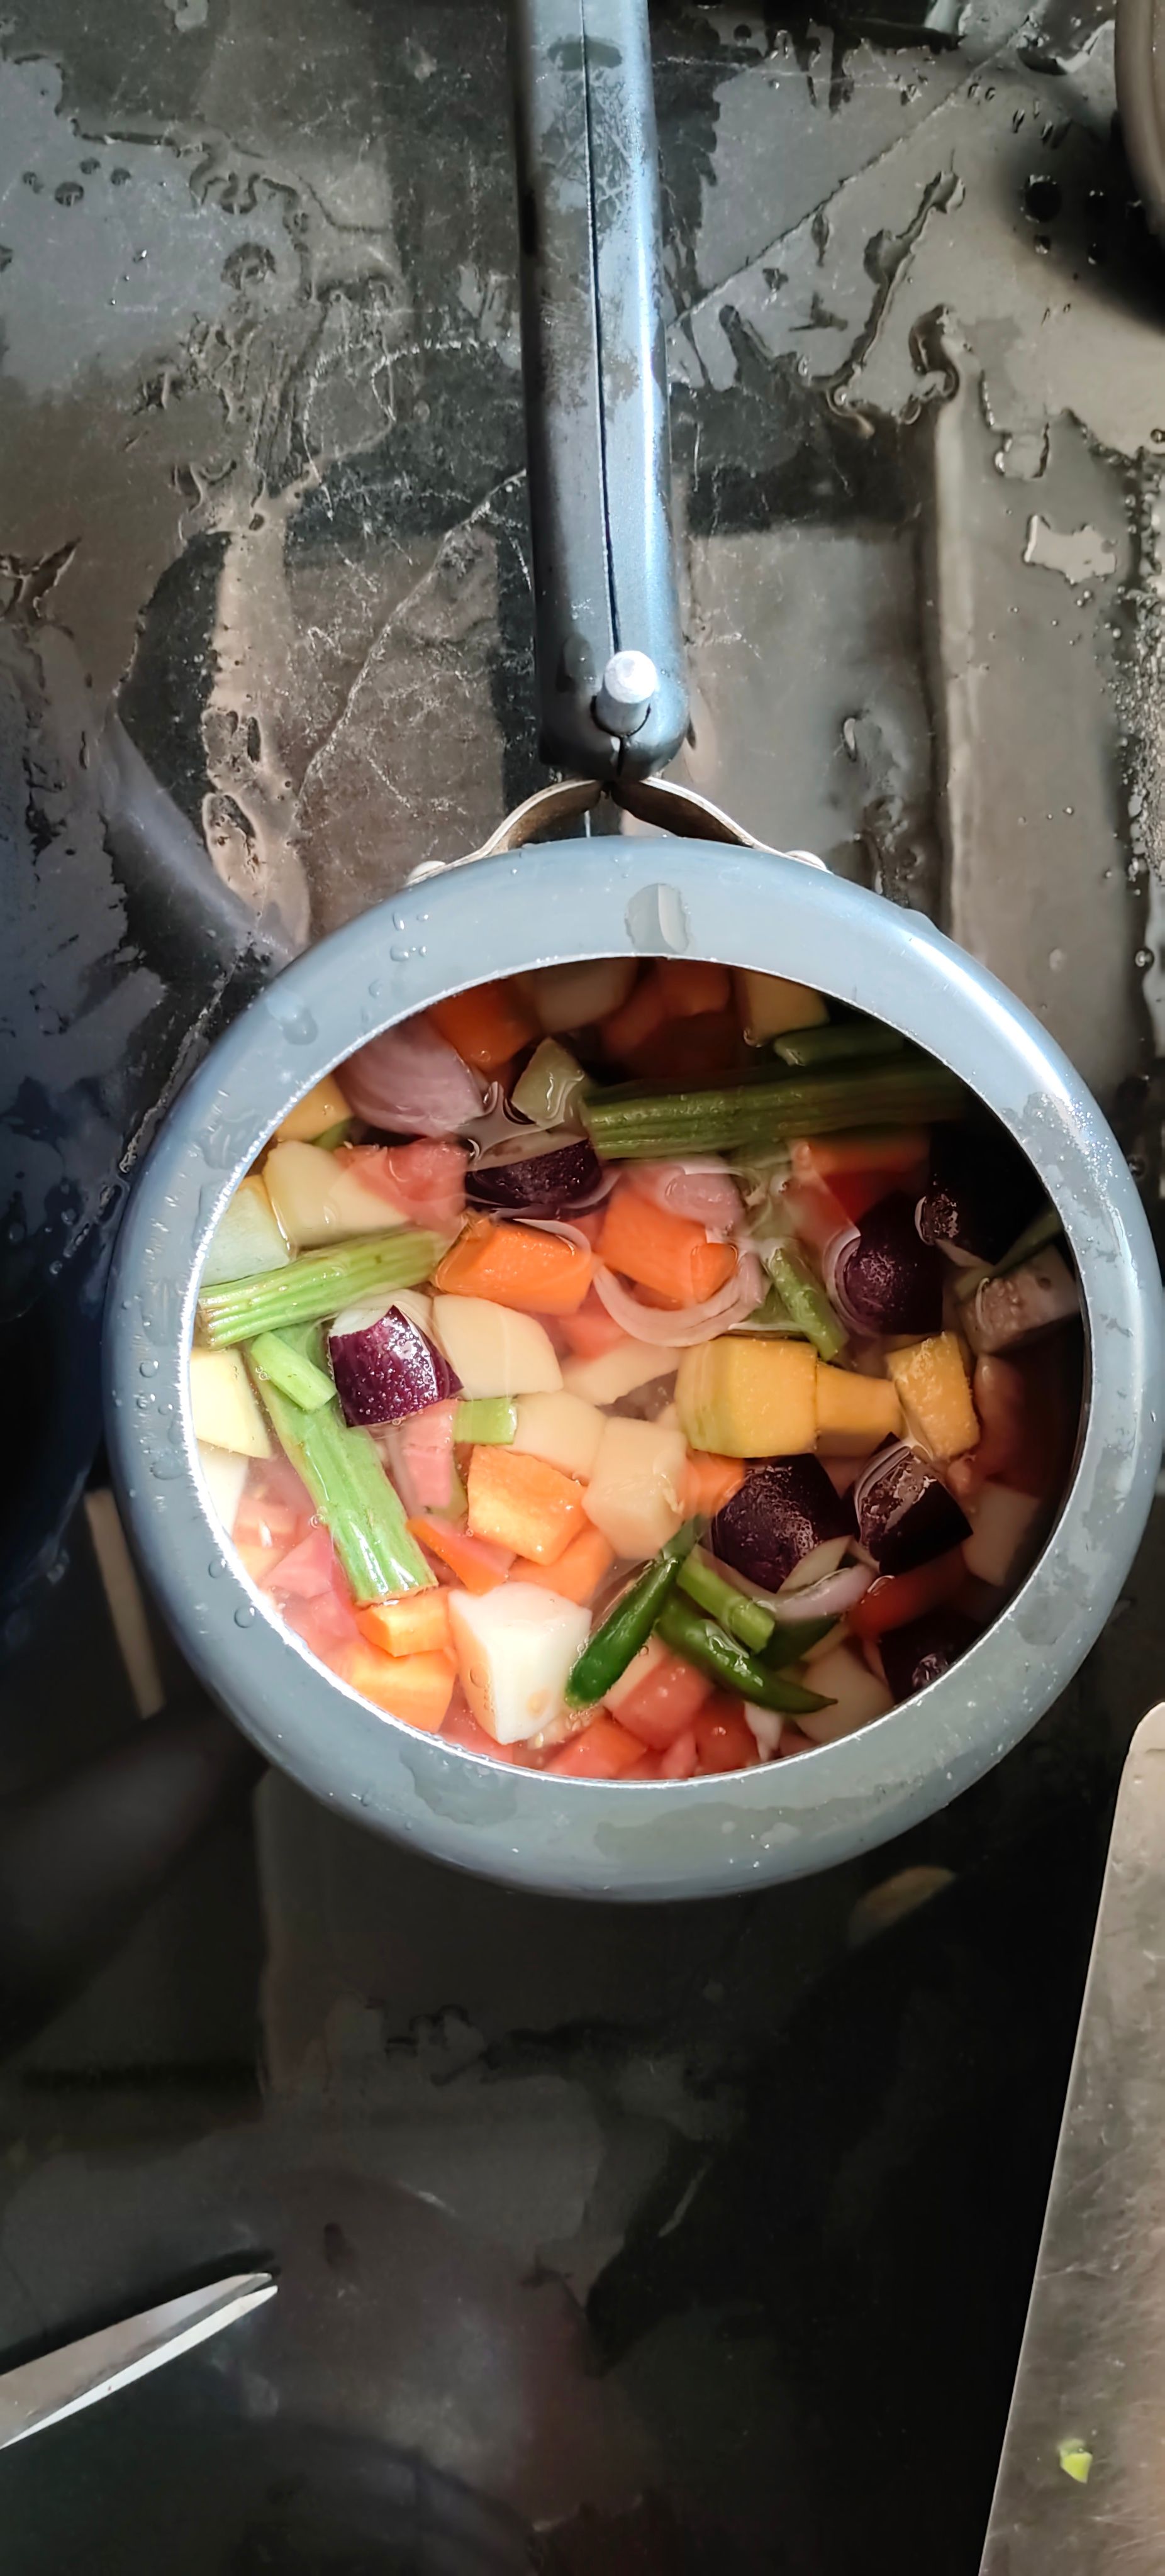
Add the chopped vegetables to a pressure cooker along with enough water to partially cover them. Add a pinch of turmeric and a little salt. Close the lid and pressure cook for 1–2 whistles on medium heat. Allow the pressure to release naturally before opening the cooker. The vegetables should be tender but still hold their shape. Avoid overcooking them, as they will cook further when simmered with the dal, tamarind and spices. If you're using vegetables with different cooking times, add the softer vegetables later or cut the harder vegetables into smaller pieces so everything cooks evenly.
- 21
Add sambar powder and kashmiri red chilli powder
Once the vegetables are cooked and tender, add 1½–2 tablespoons of Eastern Sambar Powder, a popular spice blend widely used in Kerala homes and kashmiri red chilli powder to give little spice. It gives the sambar a characteristic South Indian aroma, warm spice notes and rich colour. Sprinkle the sambar powder over the cooked vegetables and mix gently. Let it cook for 2–3 minutes on medium-low heat, allowing the spices to release their aroma and remove raw flavour
- 22
Add tamraind extract
Pour the prepared tamarind extract into the cooked vegetables and mix gently. Bring it to a gentle boil and simmer for 5–7 minutes, allowing the tangy tamarind to blend with the spices.
- 23
Add the cooked dal
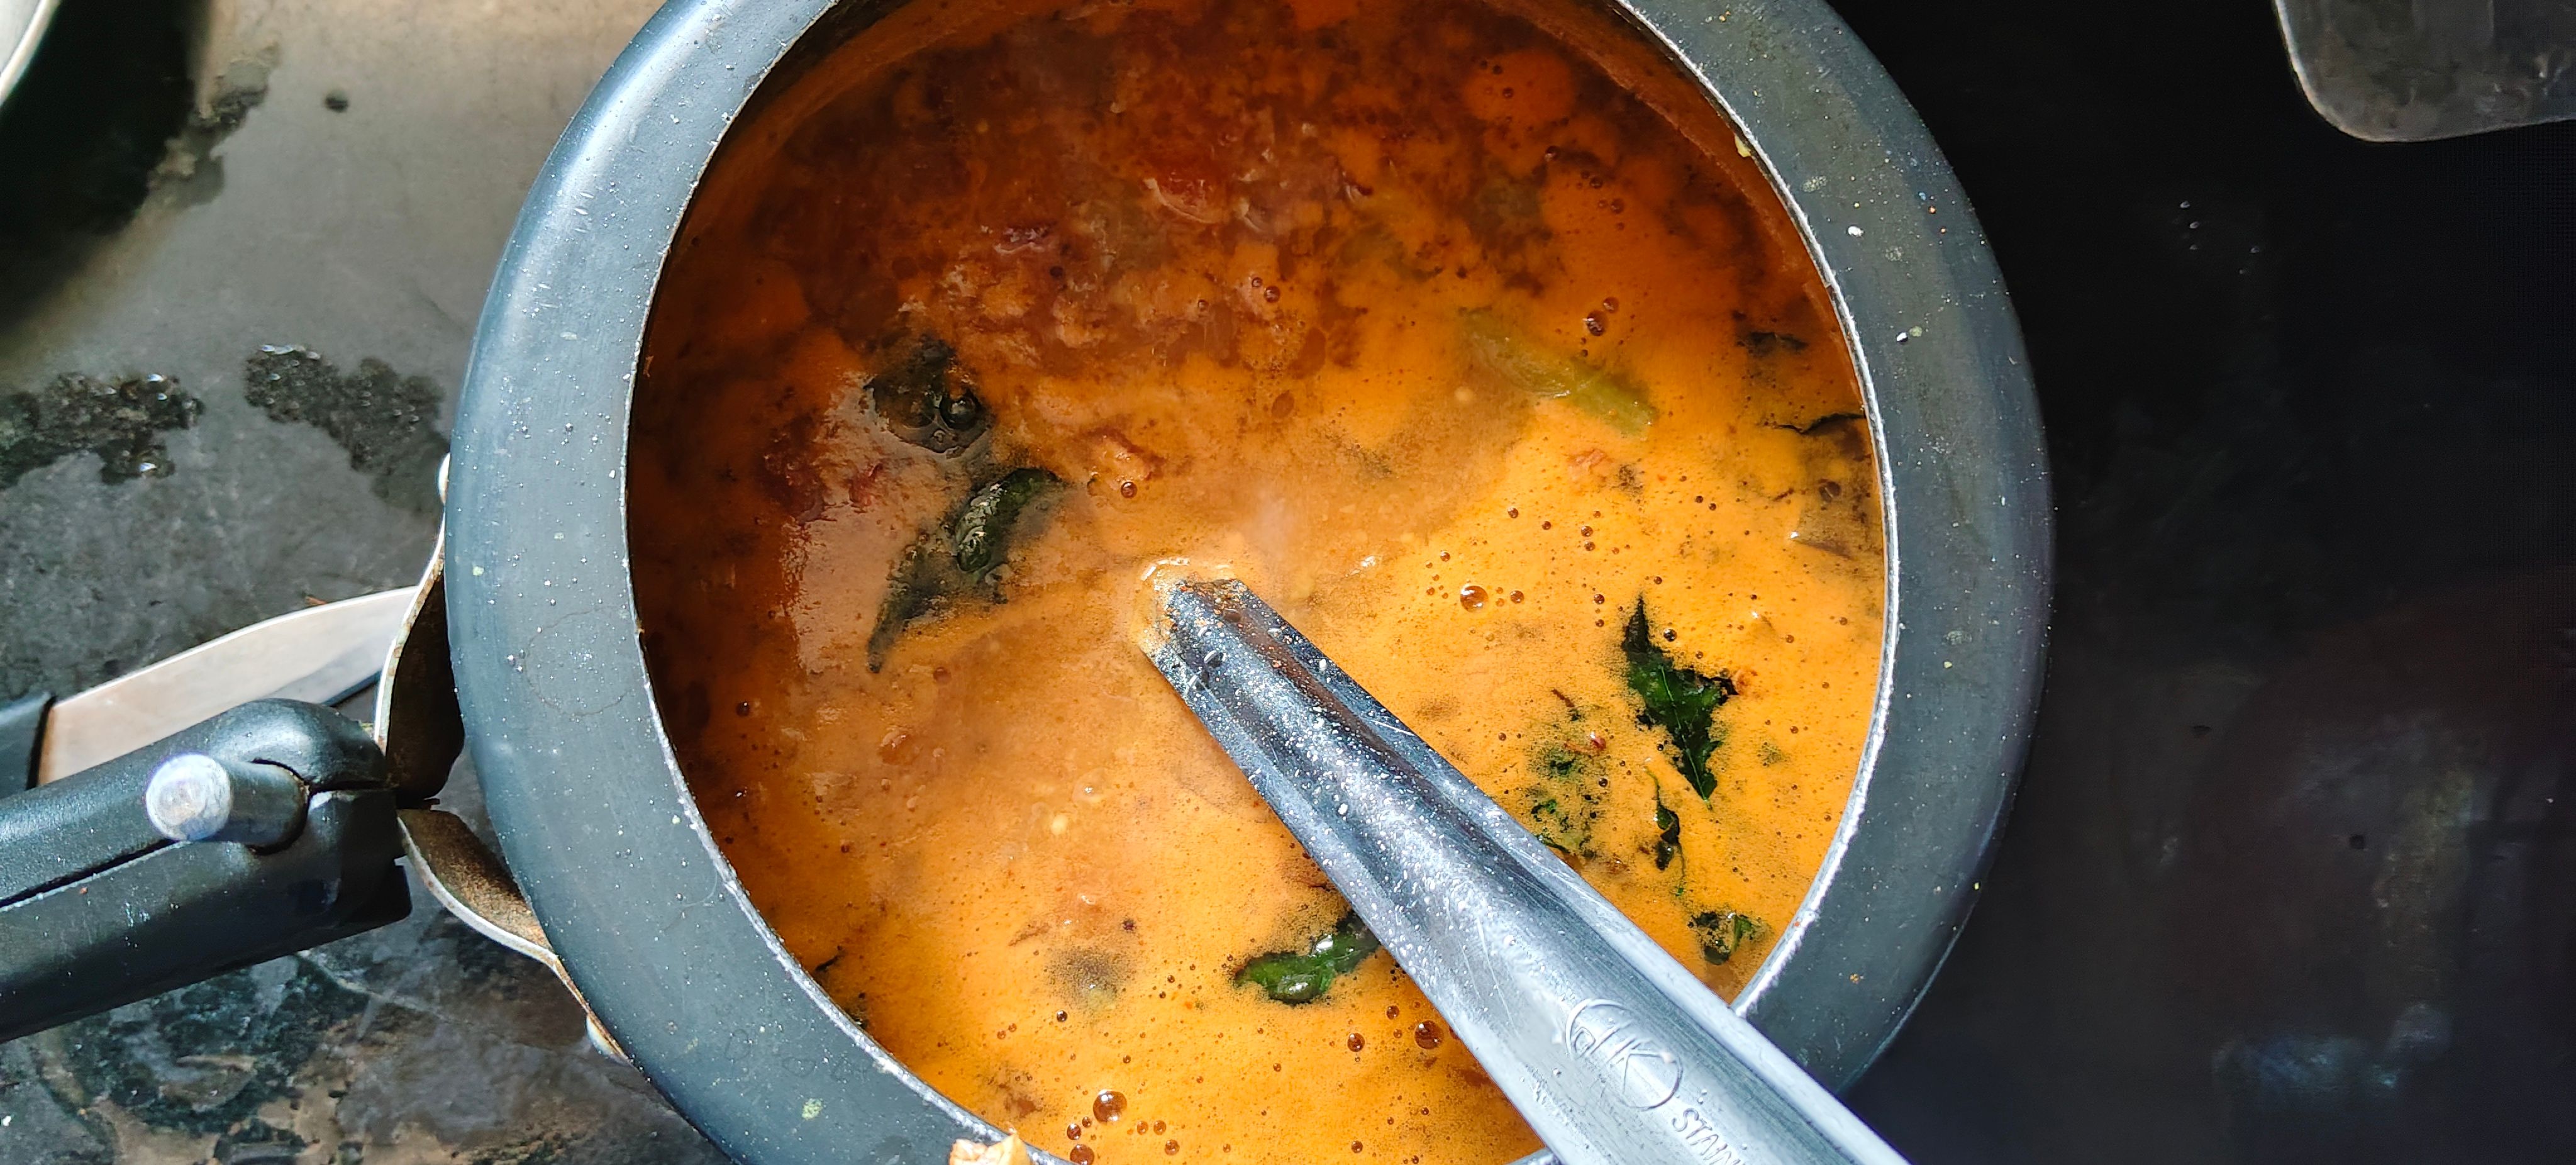
Pour the mashed dal into the vegetable mixture. Mix everything together carefully. If the sambar is too thick, add some hot water until you reach your preferred consistency. For idli, keep the sambar slightly thinner and more pourable than you would for rice.
- 24
Balance the flavours
Add salt as needed. Let the sambar simmer gently for another 5–8 minutes. Stir occasionally from the bottom so that the dal doesn't stick. At this stage, the vegetables, dal, tamarind and spices should come together into a rich, aromatic sambar.
- 25
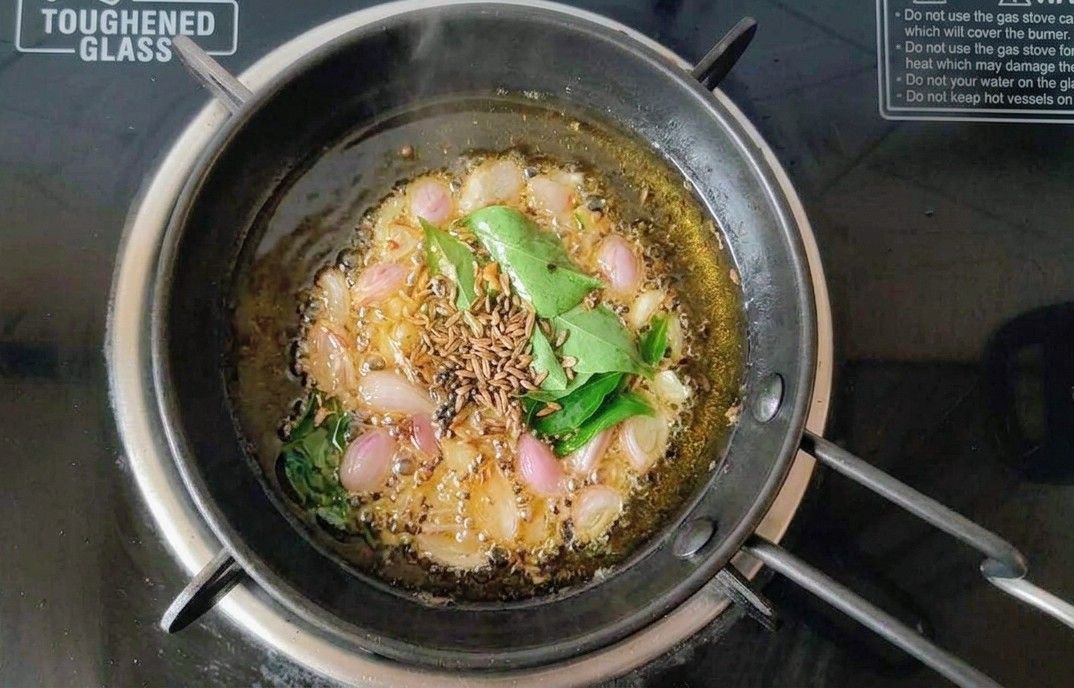
Prepare tempering
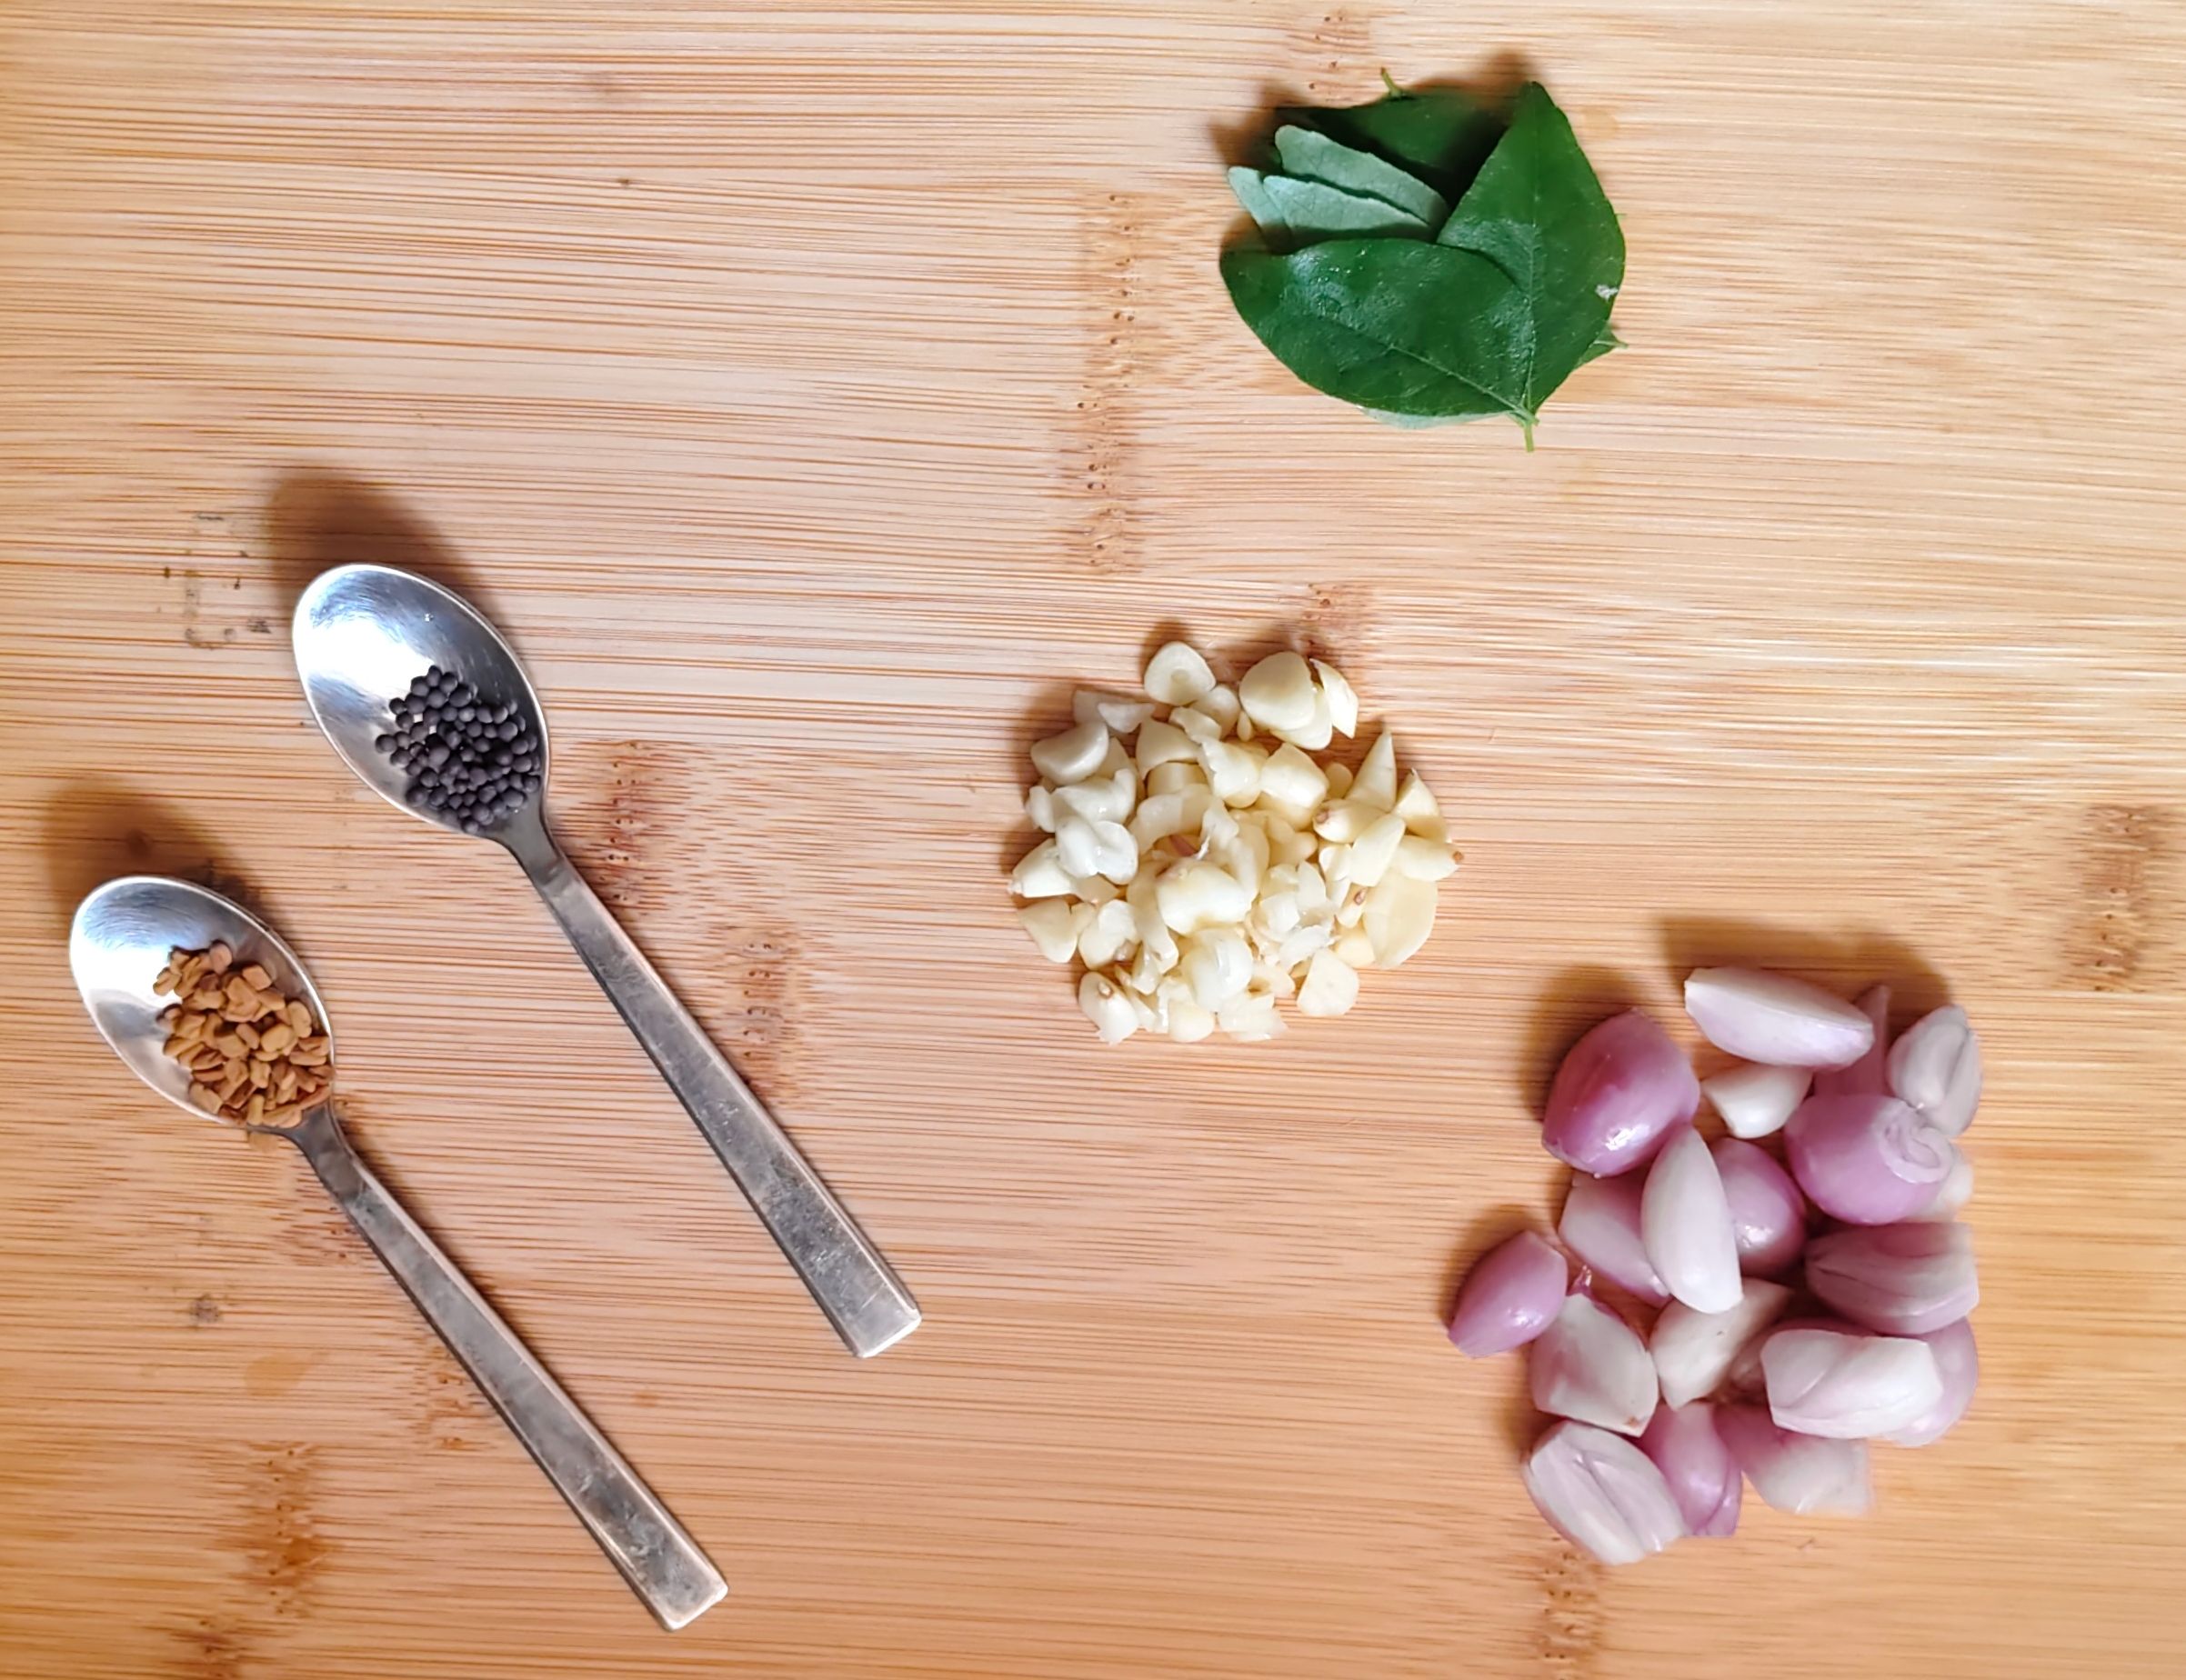
Heat 1–2 tablespoons of cooking oil in a small pan. Add ½ teaspoon mustard seeds and let them splutter. Add a pinch of fenugreek seeds and sauté briefly, taking care not to burn them. Add finely sliced shallots and chopped garlic and sauté until the shallots turn lightly golden and the garlic becomes fragrant. Finally, add a sprig of fresh curry leaves and sauté for a few seconds.
- 26
Add tempering to sambar
Pour the hot tempering directly over the prepared sambar and gently mix. Let the sambar rest for a few minutes before serving, allowing the tempering to infuse its flavour throughout the dish.
- 27
Serving idli sambar
Serve the idlis hot. Arrange 2–3 freshly steamed idlis on a serving plate. Pour a generous amount of hot Kerala-style sambar over and around the idlis.
Serving Suggestions
- 2
The Story
The Story Behind This Recipe Coming from Maharashtra, Kerala-style idli sambar wasn’t something I grew up making at home. My connection to this recipe began after I became part of a Kerala family. Since my in-laws are from Kerala, I’ve always been curious about the food they grew up eating, and this recipe became one of the first Kerala dishes my mother-in-law taught me. She taught me more than just the ingredients and measurements. I learned how to know when the idli batter has fermented just right, how to cook the vegetables without making them mushy, and how to bring everything together with that beautiful, aromatic tempering. These are the little things that make a recipe feel less like a set of instructions and more like something passed down from one kitchen to another. I especially love the way her sambar fills the kitchen with the aroma of curry leaves, garlic, shallots and spices. It is such a simple, comforting meal, but it carries a little piece of Kerala and a lot of warmth with it. This recipe is my take on what I learned from her, and every time I make it, it reminds me of those little lessons passed down in the kitchen—something I now get to share with you through Rasoi Trails.